How to Accept Payments in Carrd
 By David Nge | Last Updated: December 16, 2024
My work is supported by affiliate commissions. Learn More
By David Nge | Last Updated: December 16, 2024
My work is supported by affiliate commissions. Learn More
Here's a step-by-step tutorial on how to implement checkout buttons so you can start accepting payments in Carrd.
In summary, we'll go over:
By the end of this tutorial you'll have successfully implemented one of the 3 checkout options and start accepting payments whether's if you're selling a product, accepting a donation, or getting customers to subscribe to your membership.
Let's dive right in.
This step assumes you already have an existing Stripe account and that you've added your a bank account for payouts, if you have not then follow Stripe's documentation to do so.
In order to accept accepting credit card payments via Stripe on Carrd you first have to enable third party checkout on Stripe.
Log in to your Stripe account, then head to the checkout settings page.
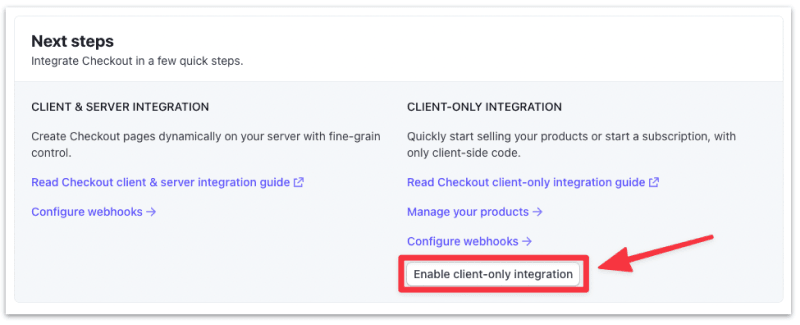
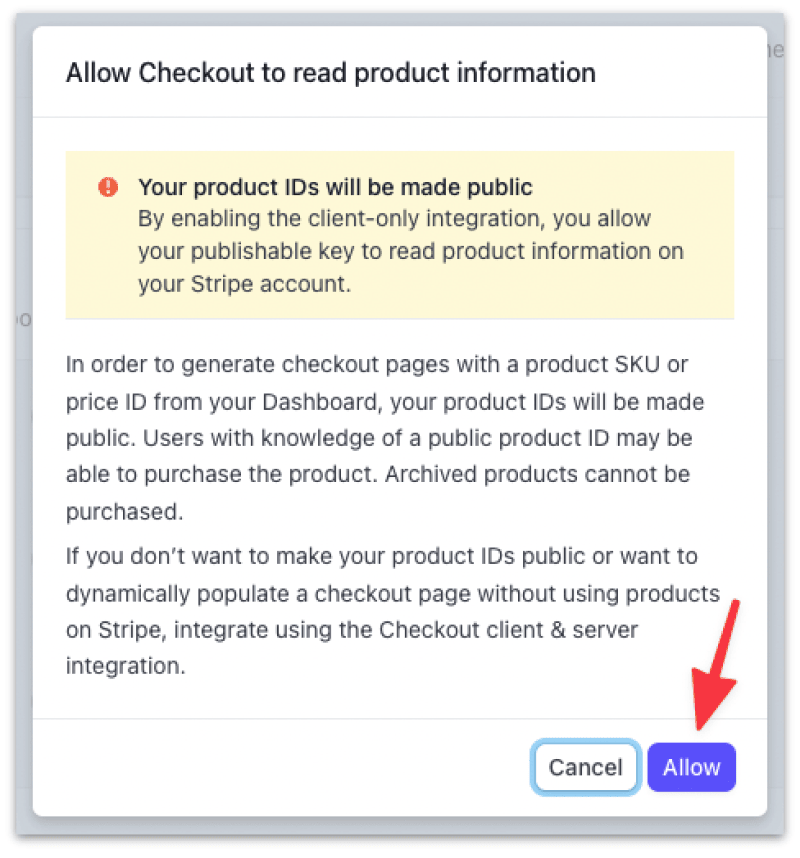
Scroll down the to bottom of the page, and in the Next steps section, select Enable client-only-Integration ➞ Allow.
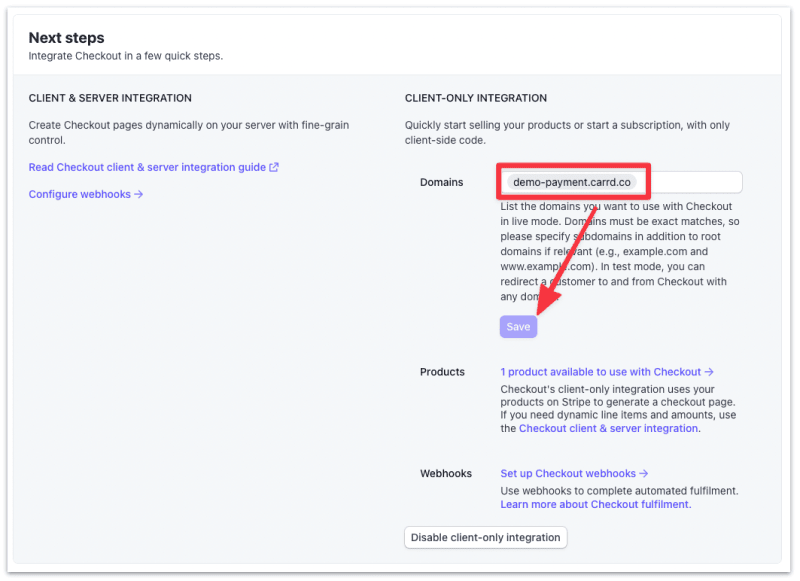
Then add your Carrd URL to the Domains field. If you don't have a URL yet, you have to publish your Carrd website.
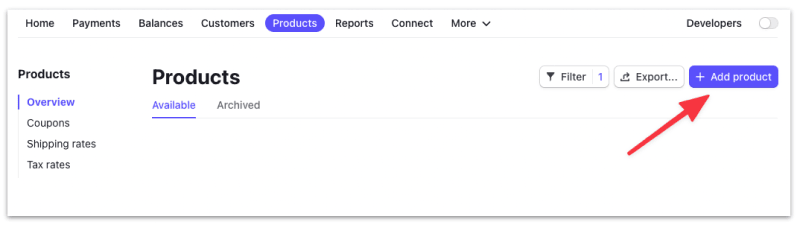
Next, head to the Stripe's Products page and create a new product. This is the product you'll eventually sell on Carrd:
In the product information page, set the
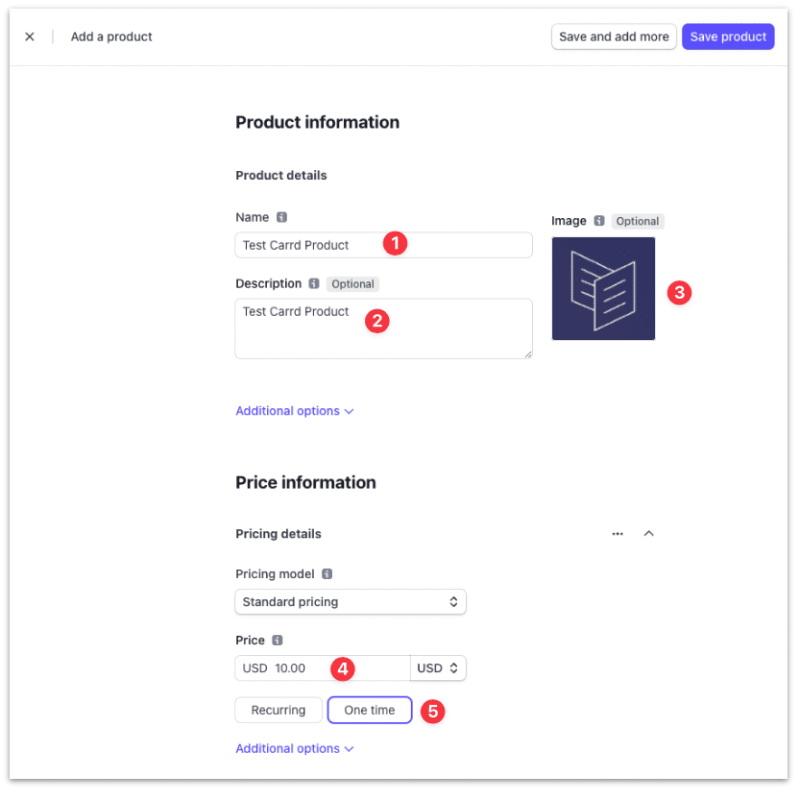
Then click Save Product.
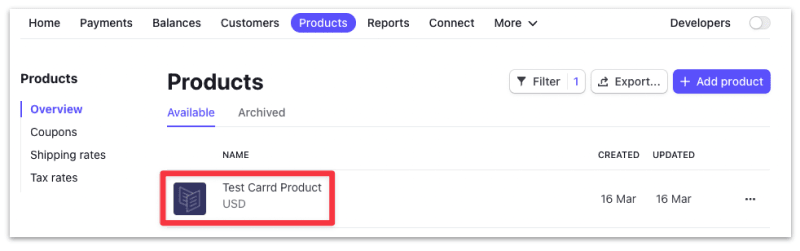
You should now see the new product in the Products page.
Related: Landing page builders you can use to accept payment for free
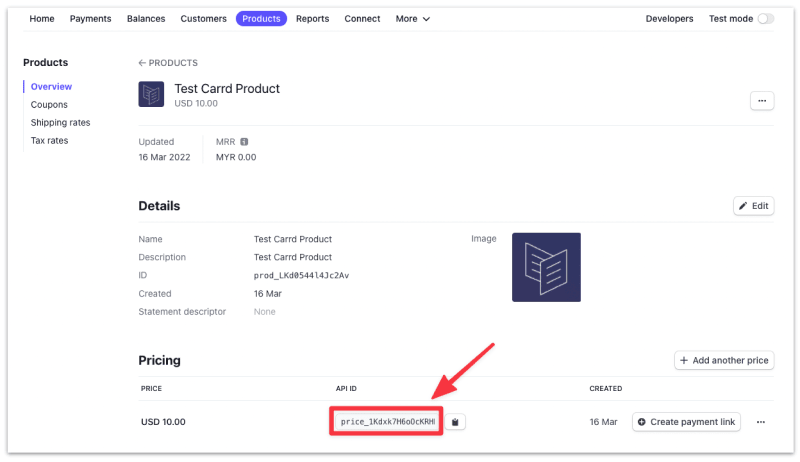
Click into the product and copy the Price ID.
The Price ID starts with Price_XXXXXX. Note down this Price ID (or copy into a text editor) as you will need it later on when you create the checkout button in Carrd.
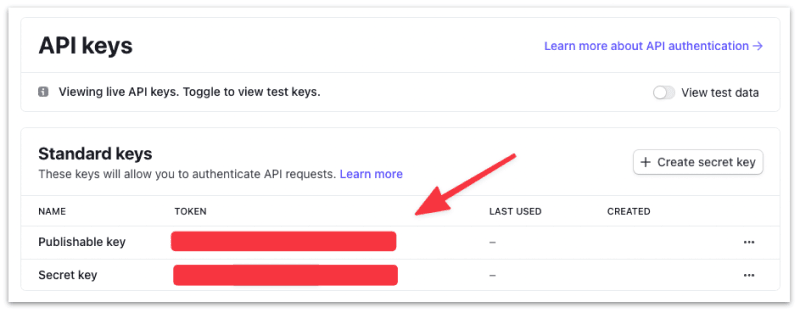
Next, head to Stripe's API Key dashboard and retrieve your API keys. If you have no idea what this is, it's just a piece of code you need to copy to enable Stripe's integration with Carrd.
From this page, copy your Publishable Key and the Secret Key into a text editor, you will need this later on to integrate with Carrd.
Once done, head to your Carrd editor.
In the Carrd editor, create a new Widget element.
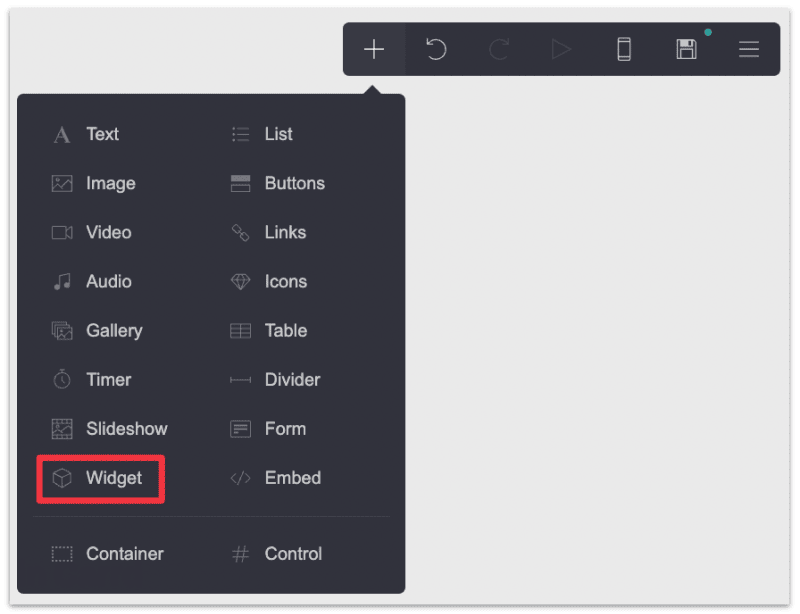
In the Widget settings, set the following:
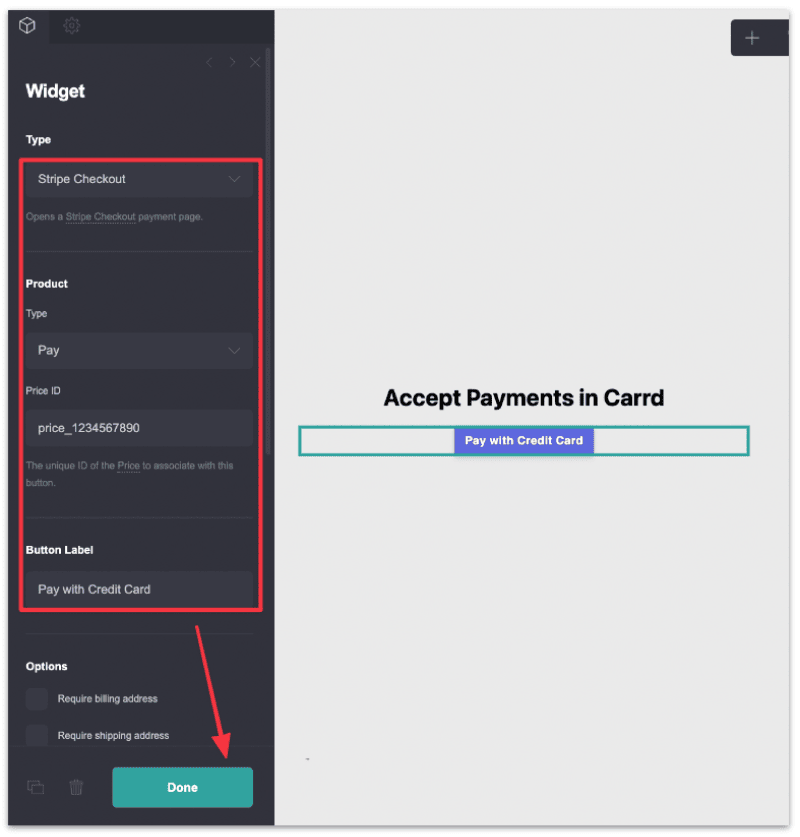
Click Done once you've set up the Stripe checkout button and Publish your Carrd website.
You've now set up the Stripe checkout button! Let's give it a try.
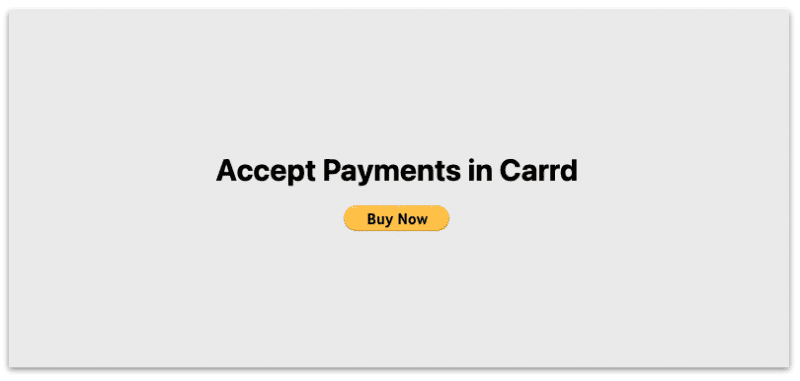
Head to your Carrd website and click on the pay button.
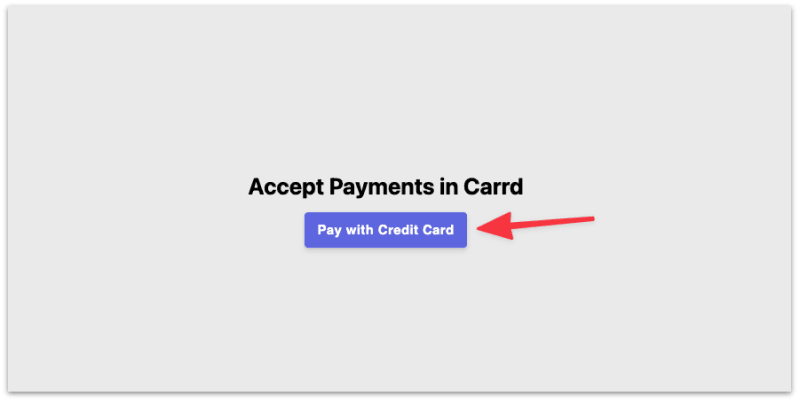
You should be redirected to the Stripe checkout page.
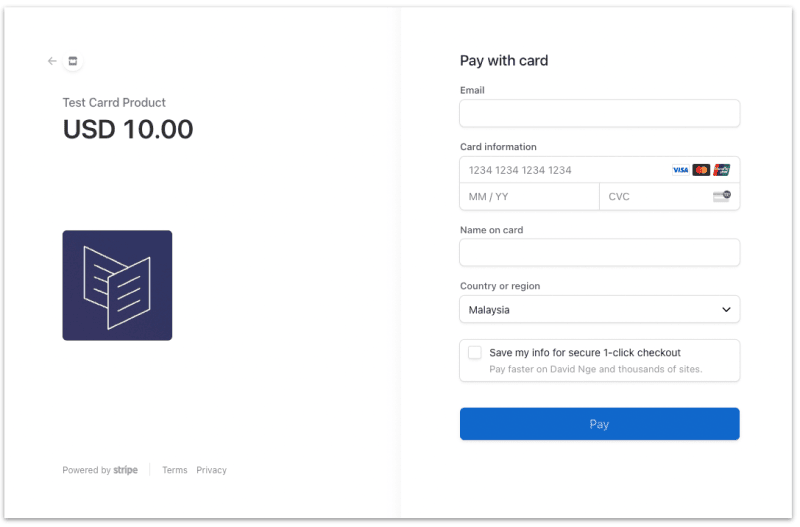
If you see the Stripe checkout page that means you've successfully implemented the Stripe checkout on your Carrd site and you can now accept payments via credit card!
This step assumes you have an existing Gumroad account. If not then create a Gumroad account here.
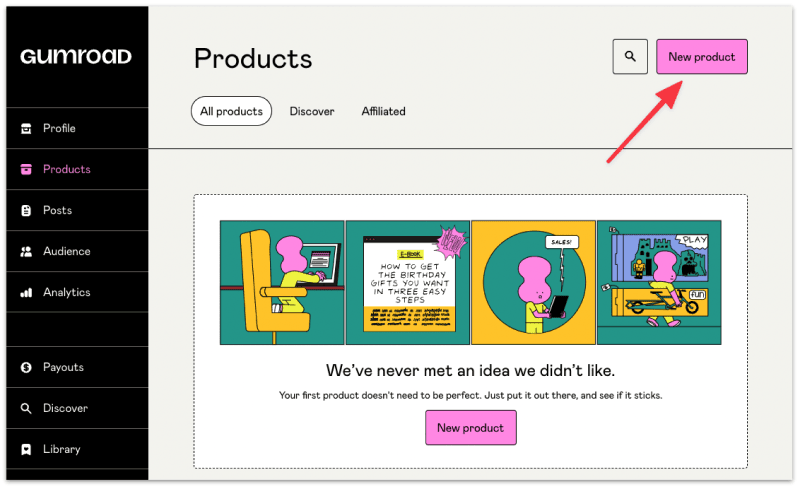
Login to you Gumroad account and head to the Products Page.
You will need to create a new Gumroad Product in order to start selling on your Carrd site.
If you have an existing Gumroad product, skip to this step to copy the product URL.
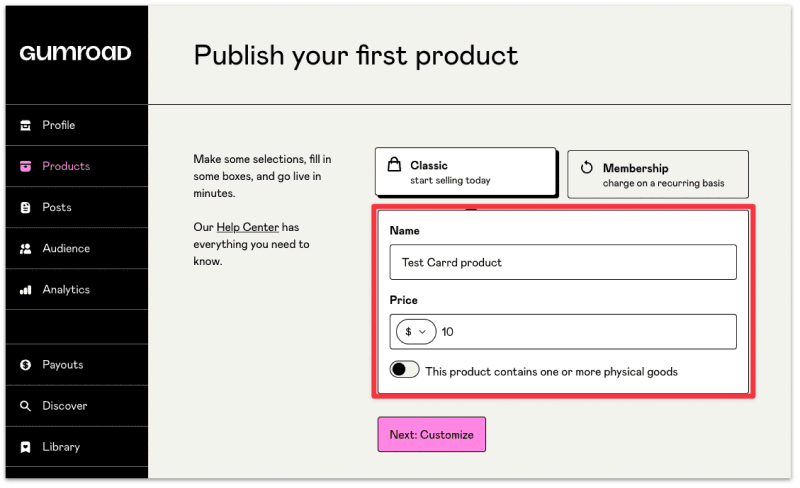
Create a new Product on Gumroad and fill in the product details.
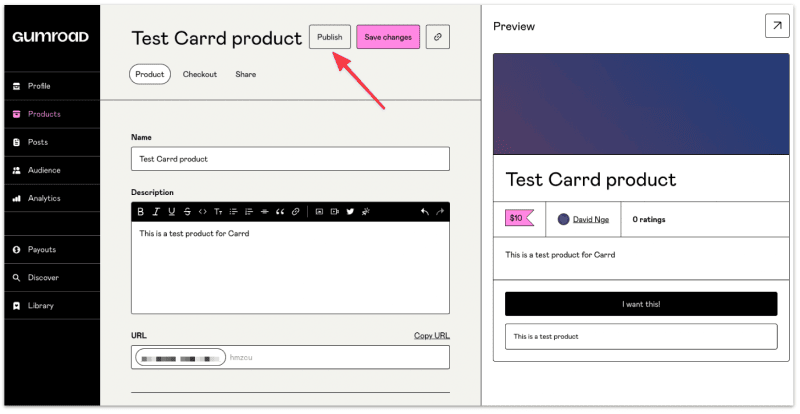
Once you're done, publish your product.
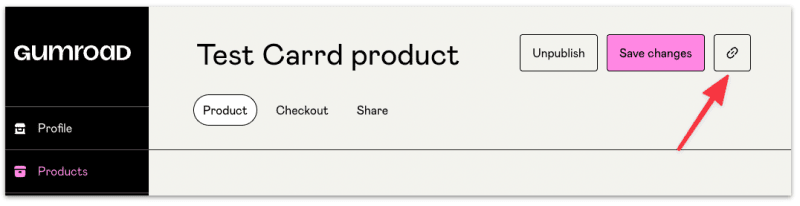
Back in the Products page, click into one of the products you've created.
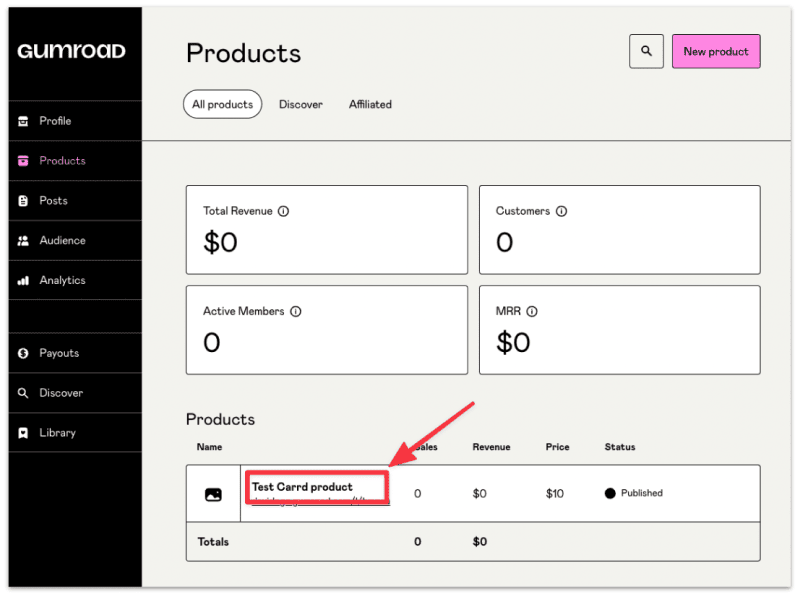
Copy the product URL. You will need this later on when you add a checkout button in Carrd.
Once done, head to your Carrd editor.
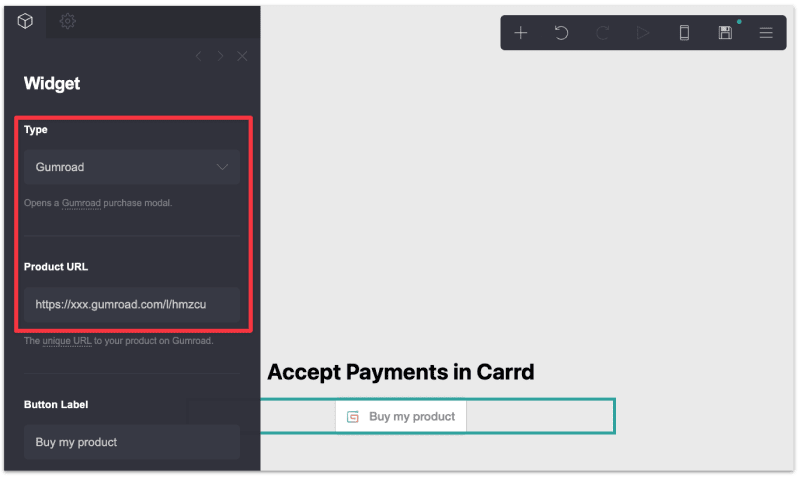
In the Carrd editor, create a new Widget element.
In the Widget settings, set the following:
Click Done and publish your website.
You've now enabled Gumroad checkout on your site!
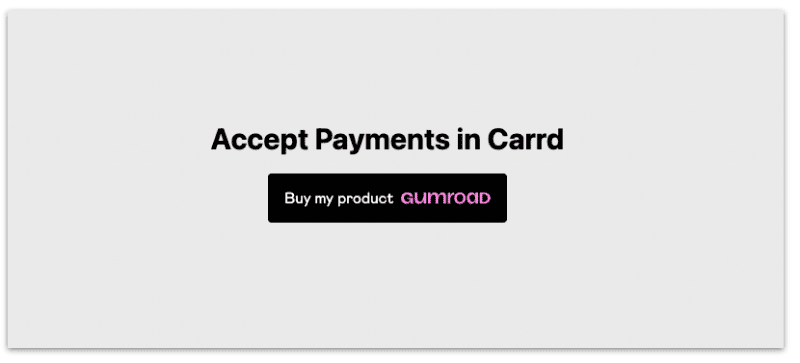
Clicking the checkout button will enable the Gumroad pop up.
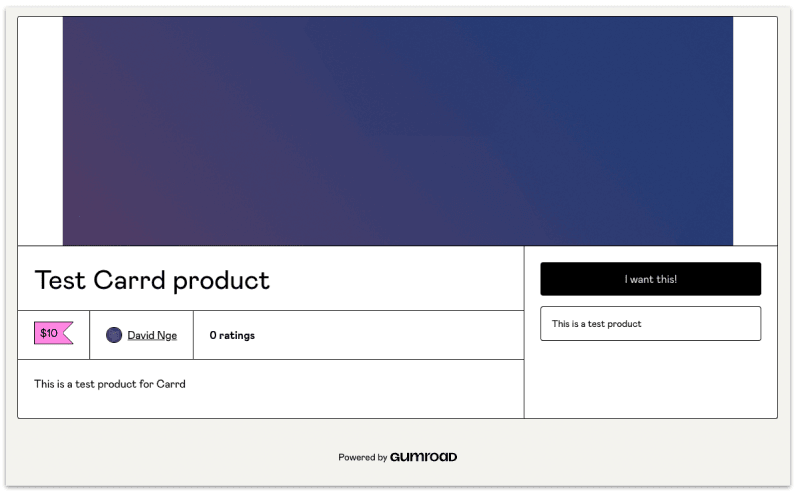
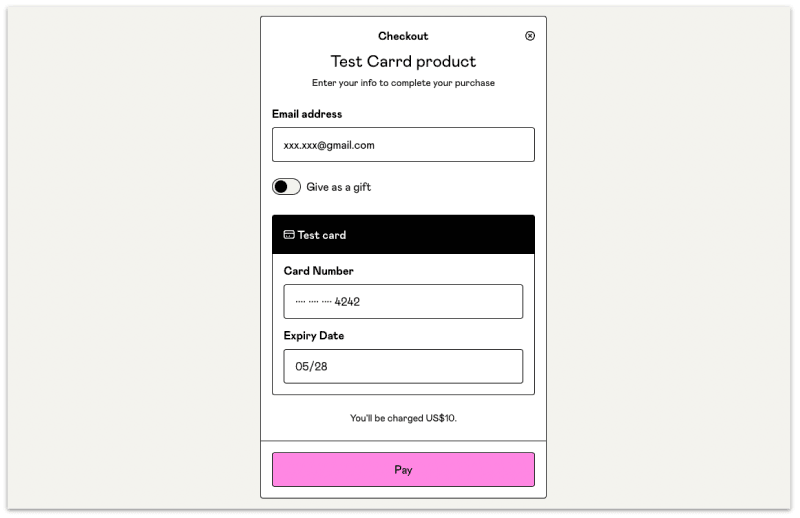
Gumroad will automatically set up the checkout workflow where your customers can then fill their credit card info and for you to start accepting payment on your site :)
This step assumes you have a Paypal Business account. If you don't have one sign up here.
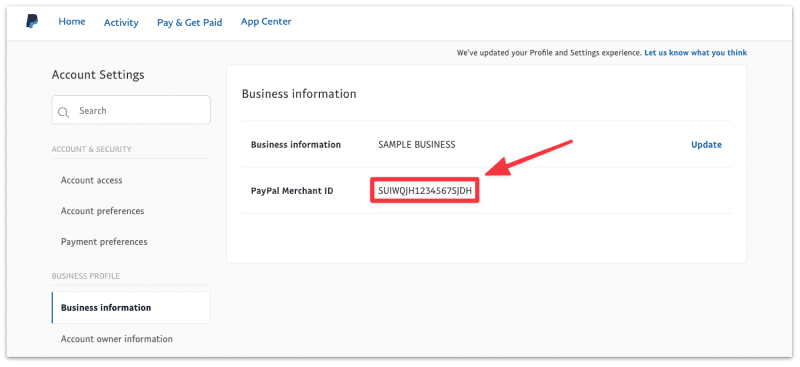
First, login to your Paypal account and head to the Business Account settings page.
Copy your PayPal Merchant ID. You will need this when you set up a Paypal button on Carrd later on.
Once done, head to your Carrd editor.
In the Carrd editor, create a new Widget element.
In the Widget settings, set the following:
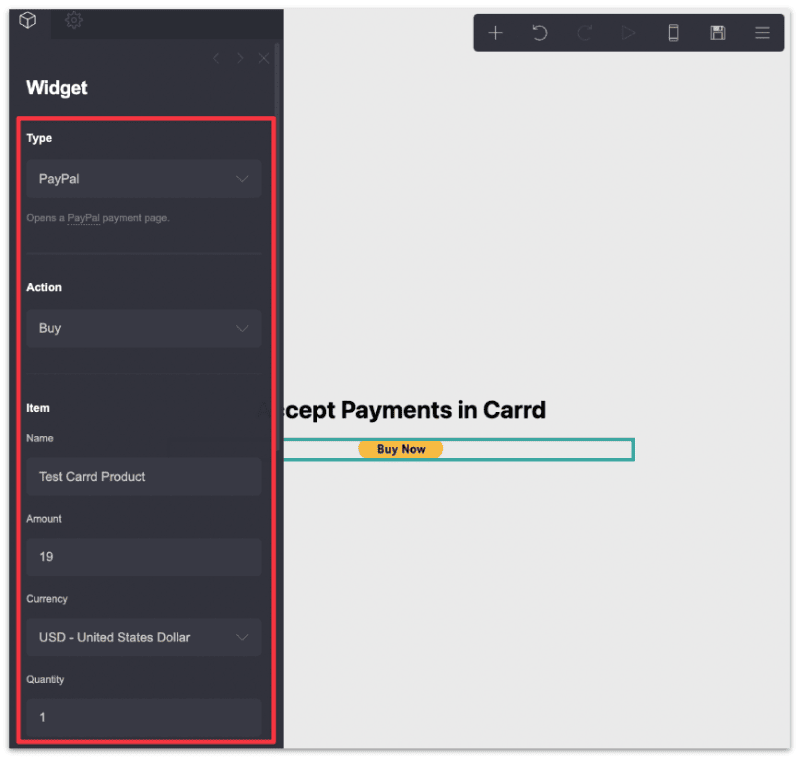
Once completed, click Done and Publish your site.
You've now added a Paypal checkout button on your site and ready to accept payments.
David Nge is the founder and writer behind MakingThatWebsite.com. Since launching in 2021, he’s been on a mission to help non-techies—especially small business owners—build better websites using easy-to-learn tools and smart, time-saving strategies. He specializes in website builders, SEO, and practical AI tutorials for small business owners.
Have a tutorial you want to learn? Leave a suggestion here.