How to create a Carrd website with multiple pages
 By David Nge | Last Updated: November 15, 2025
My work is supported by affiliate commissions. Learn More
 By David Nge | Last Updated: November 15, 2025
My work is supported by affiliate commissions. Learn More
In this tutorial, we'll go over step-by-step how to create a Carrd website with multiple pages.
Thanks to Carrd's intuitive user interface, making a multi-page Carrd is relatively simple!
By the end of this tutorial, you will re-create the following multi-page website:
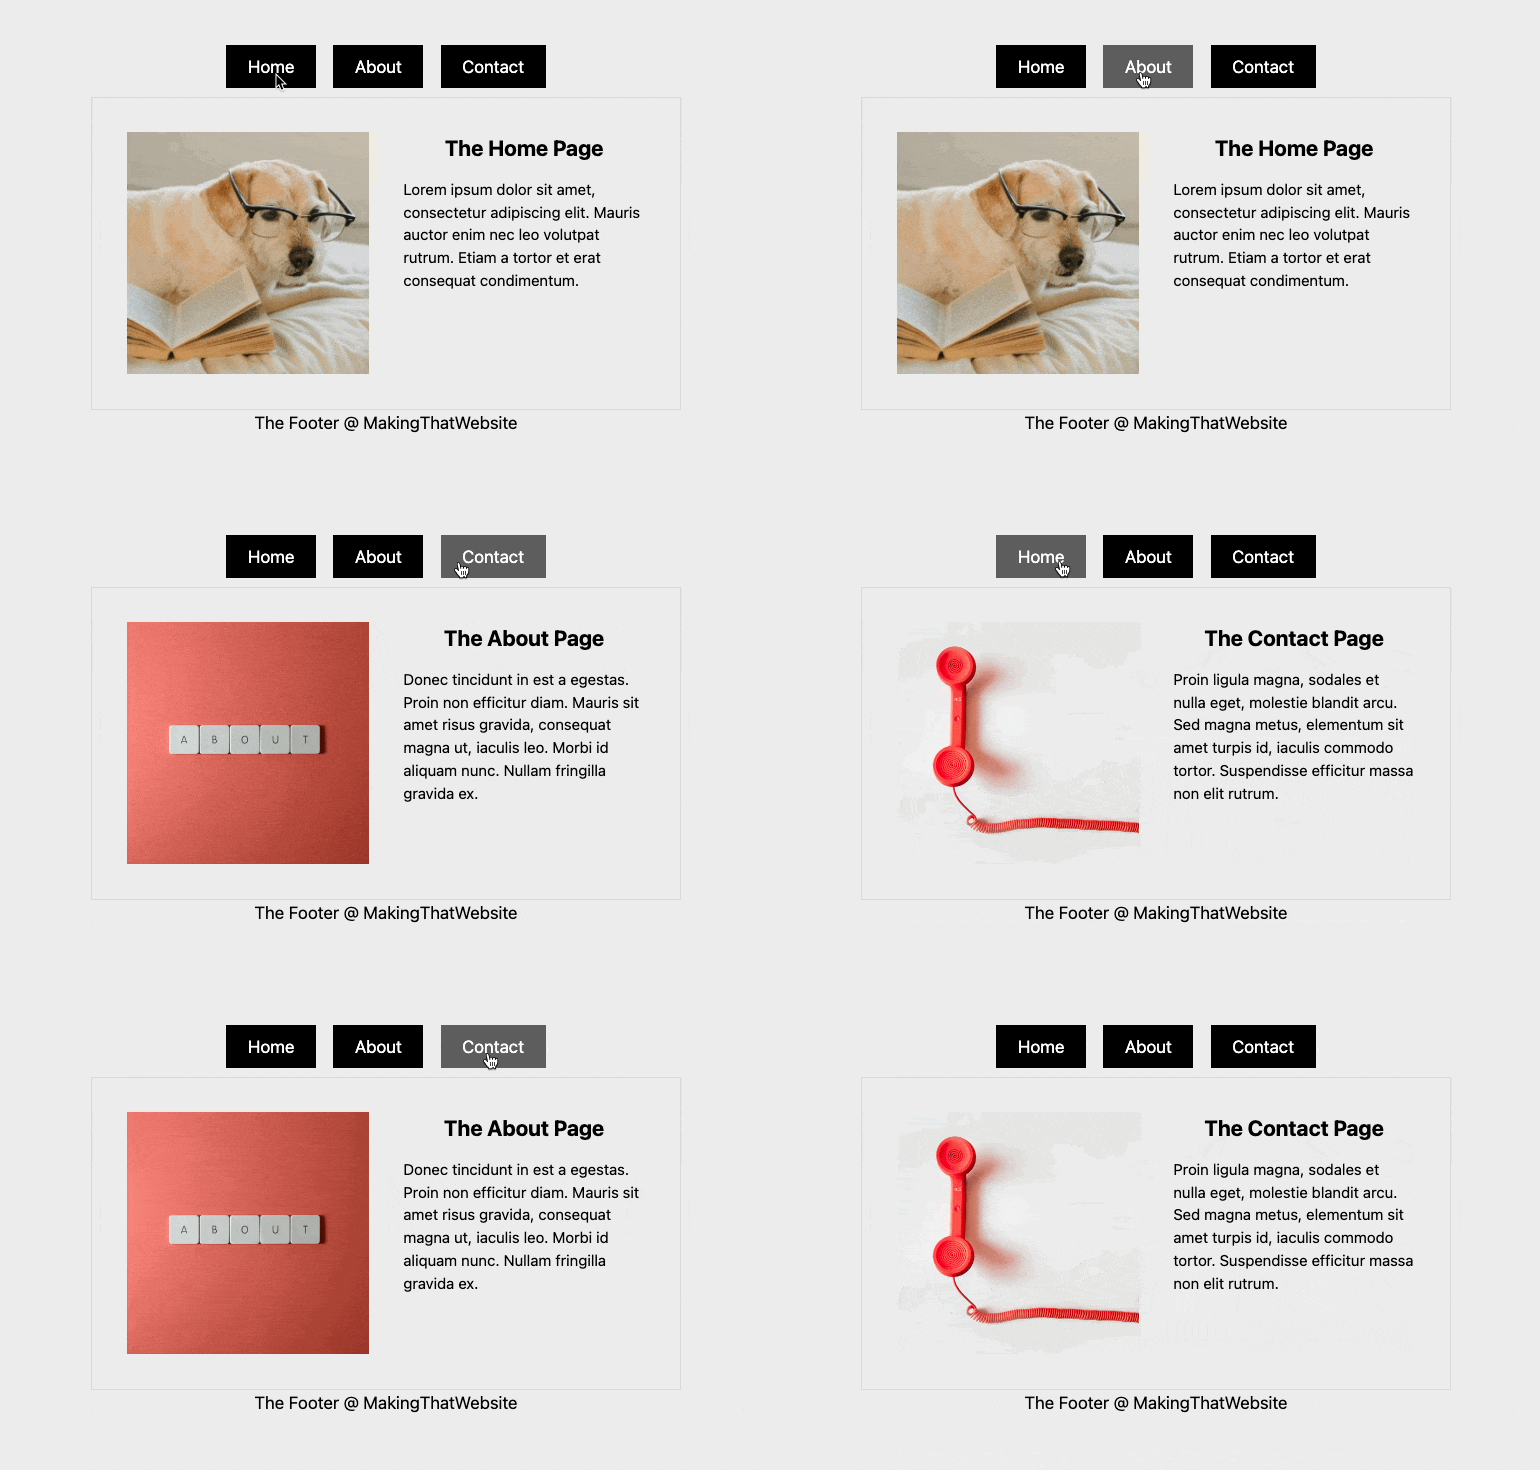
Click here to view the multi-page Carrd demo website.
By the way, you can create the multi-page Carrd website on the free plan.
But, if you ever need to create more than a few Carrd websites in the future, getting the Pro plan is definitely worth it (Here's why).
Now, onto the tutorial.
First, let's create a new Carrd website.
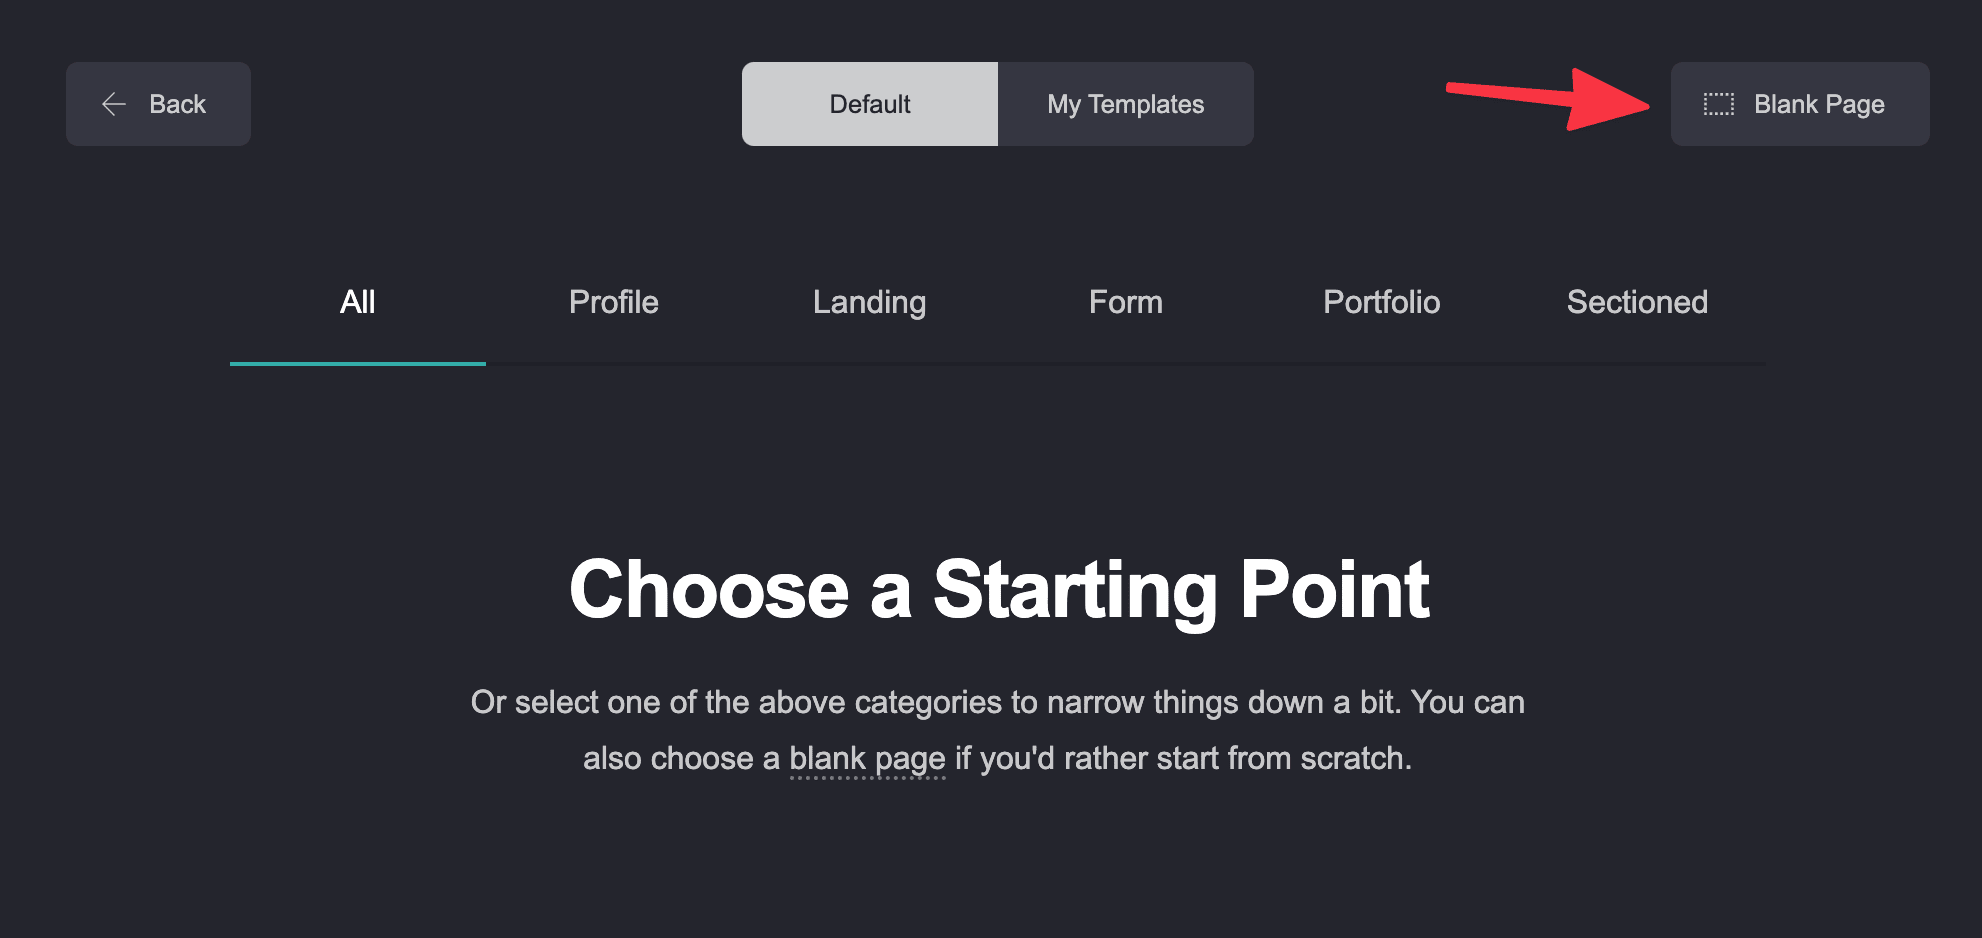
Login to the dashboard and click New Site. From there, click Blank Page to start from scratch (i.e without using an existing template).
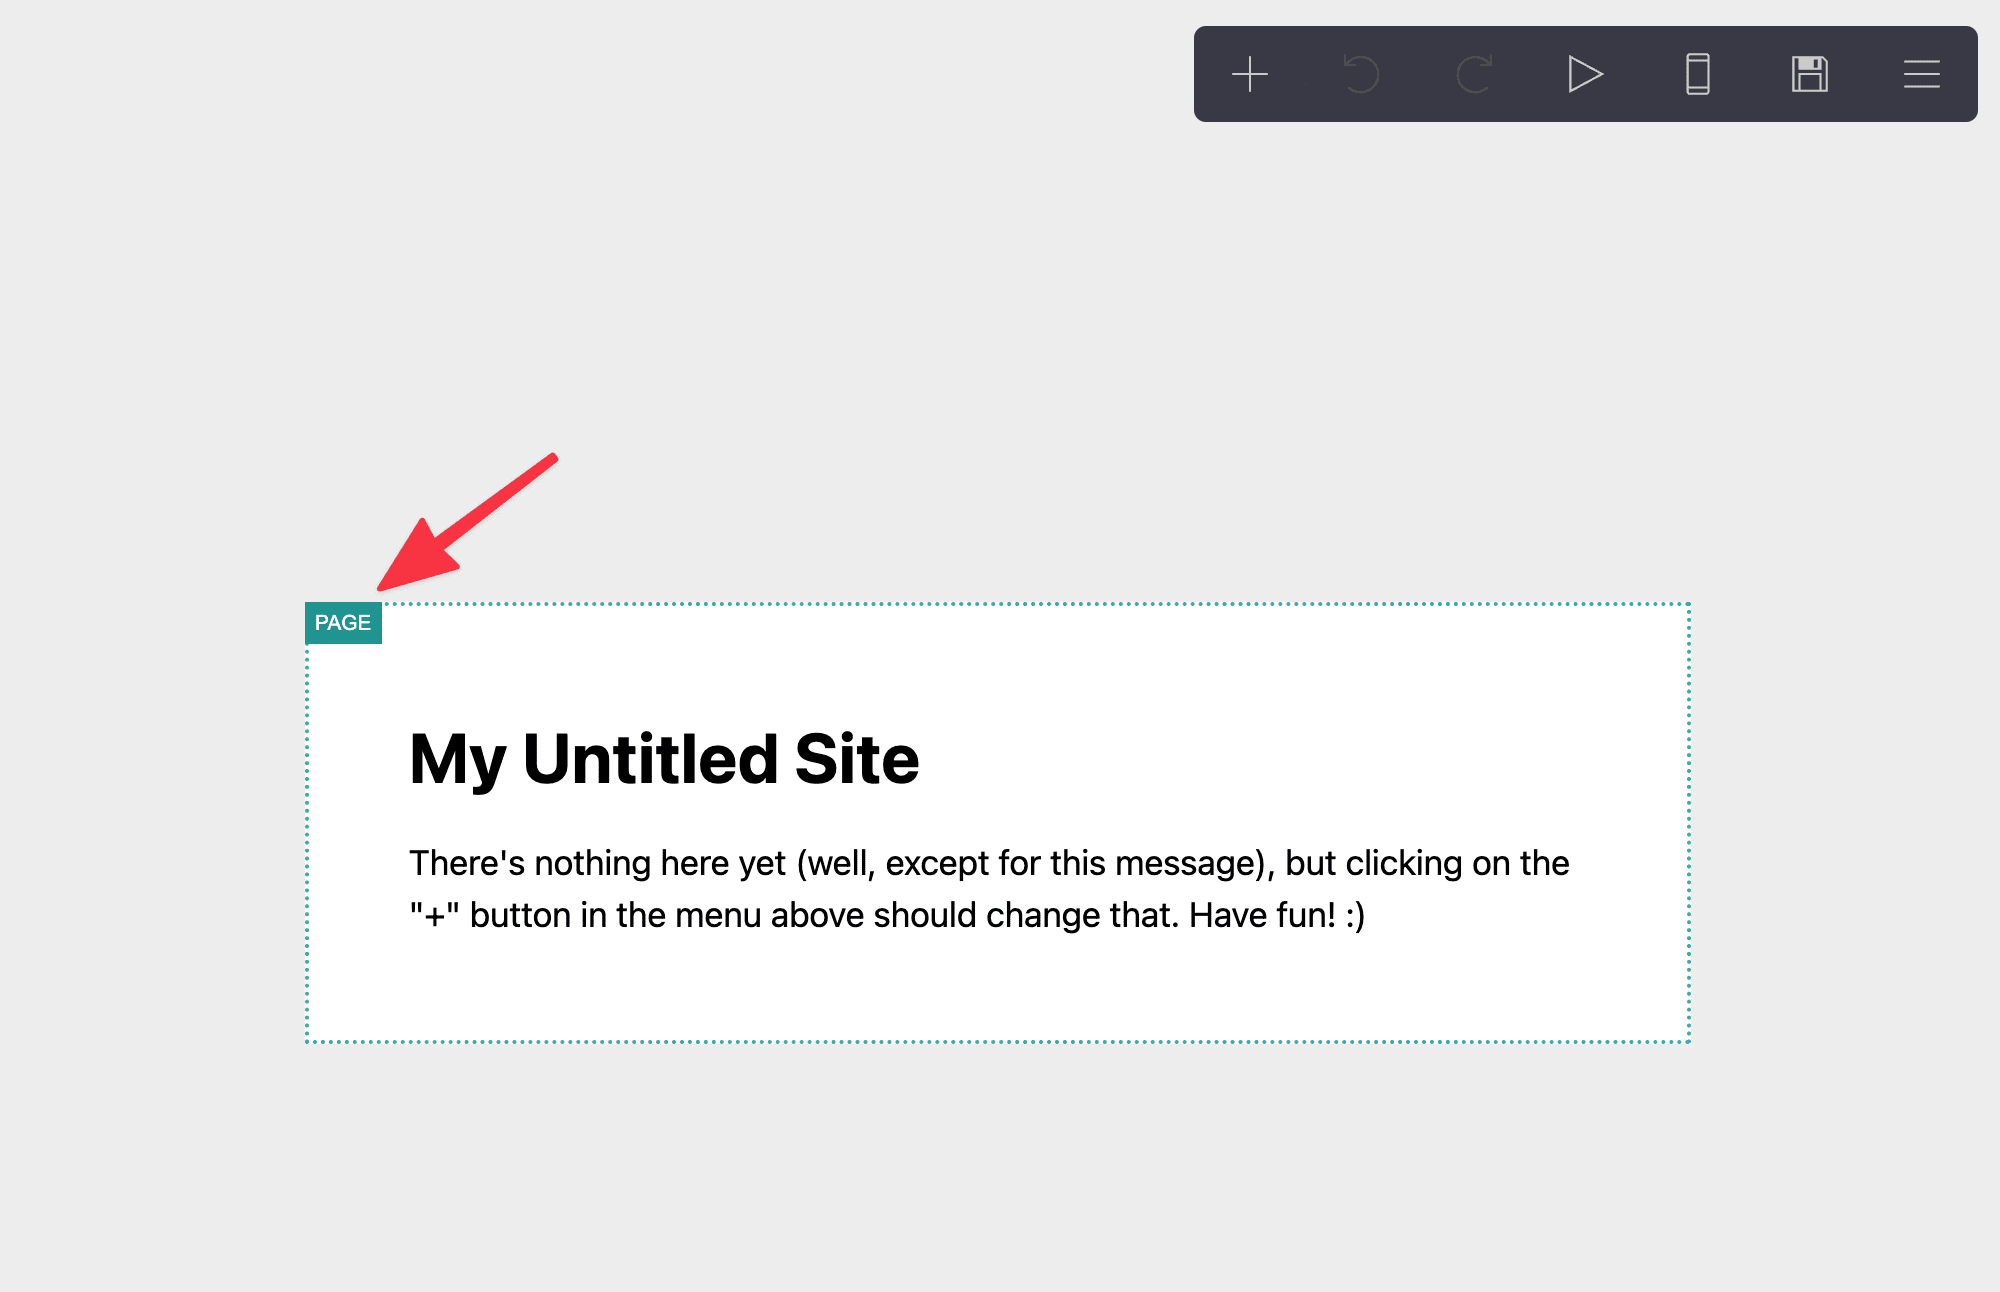
Hover over to the center of the page and click the Page element.
You will see the Page Element editor pull out from the left. This is where you change the style and outlook of the Page, which acts as the site's background.
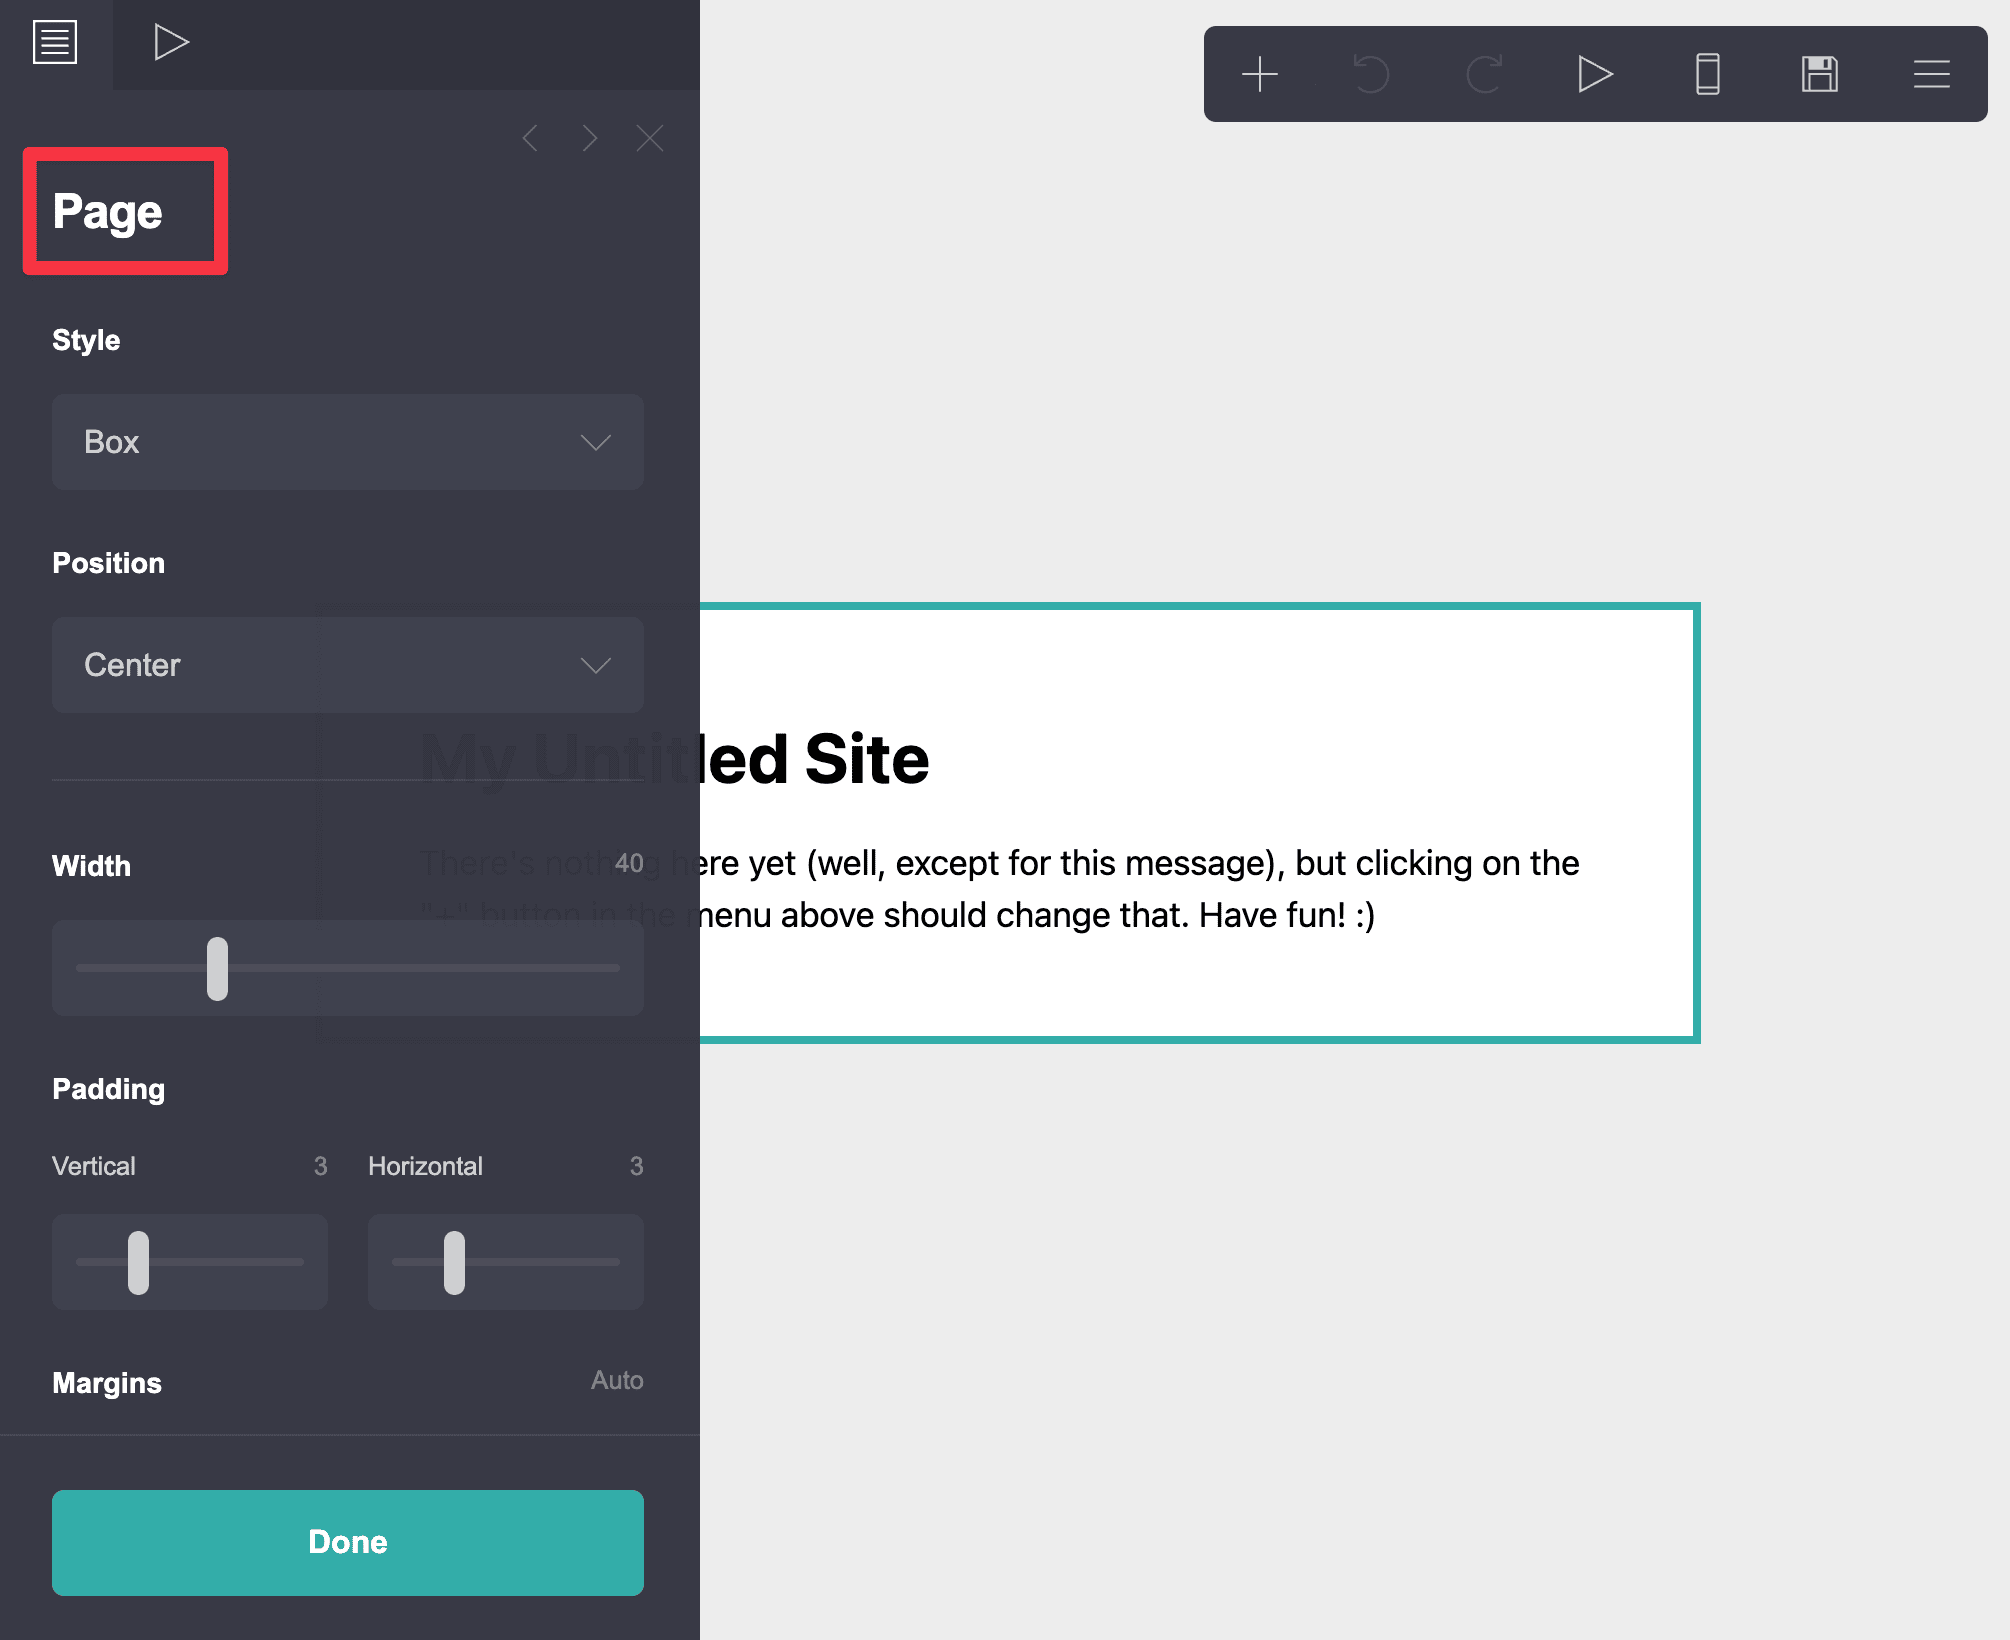
Change the following Page setting:
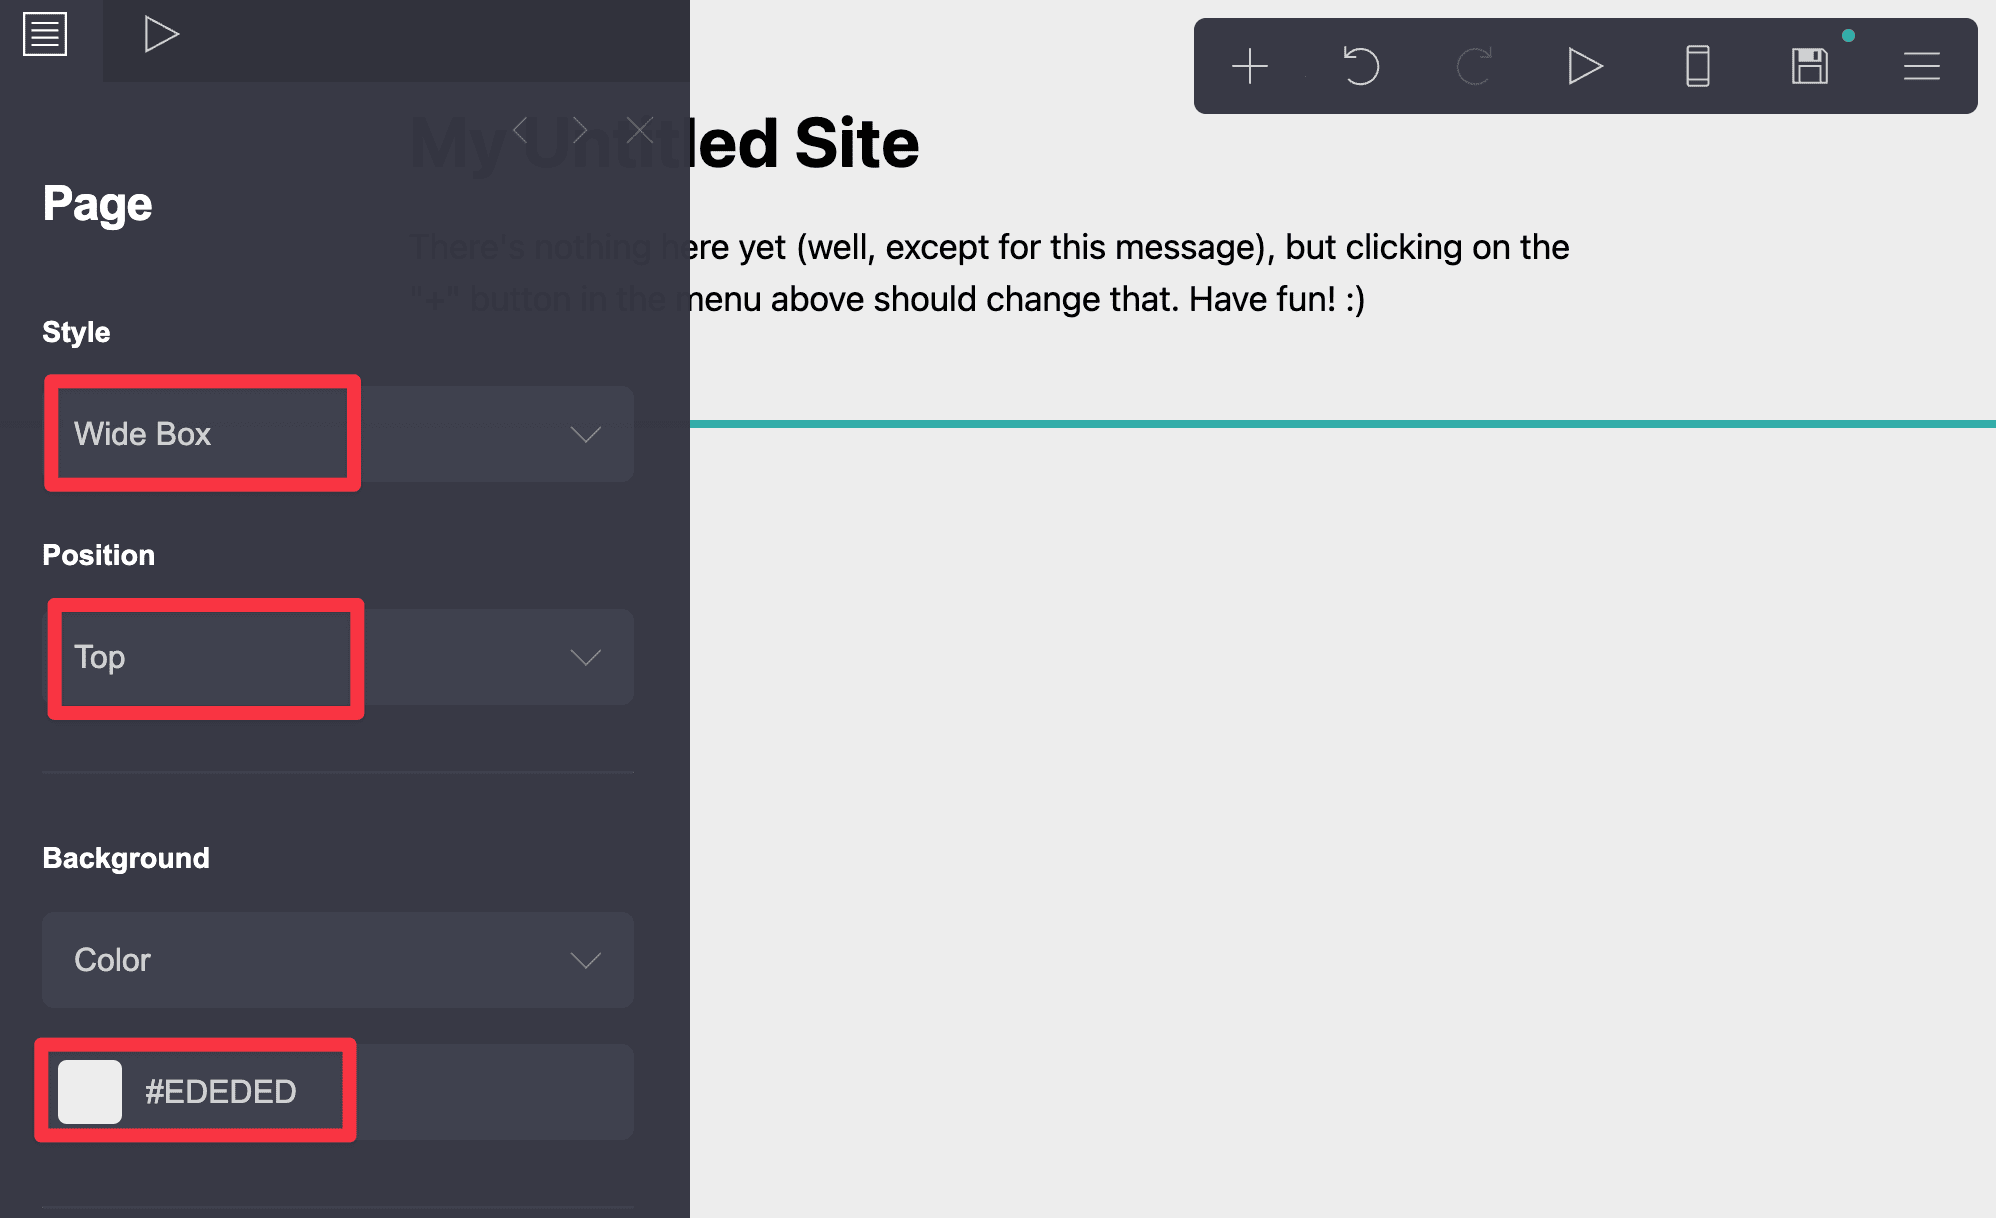
Now the page is situated at the top. But there's still nothing yet :)
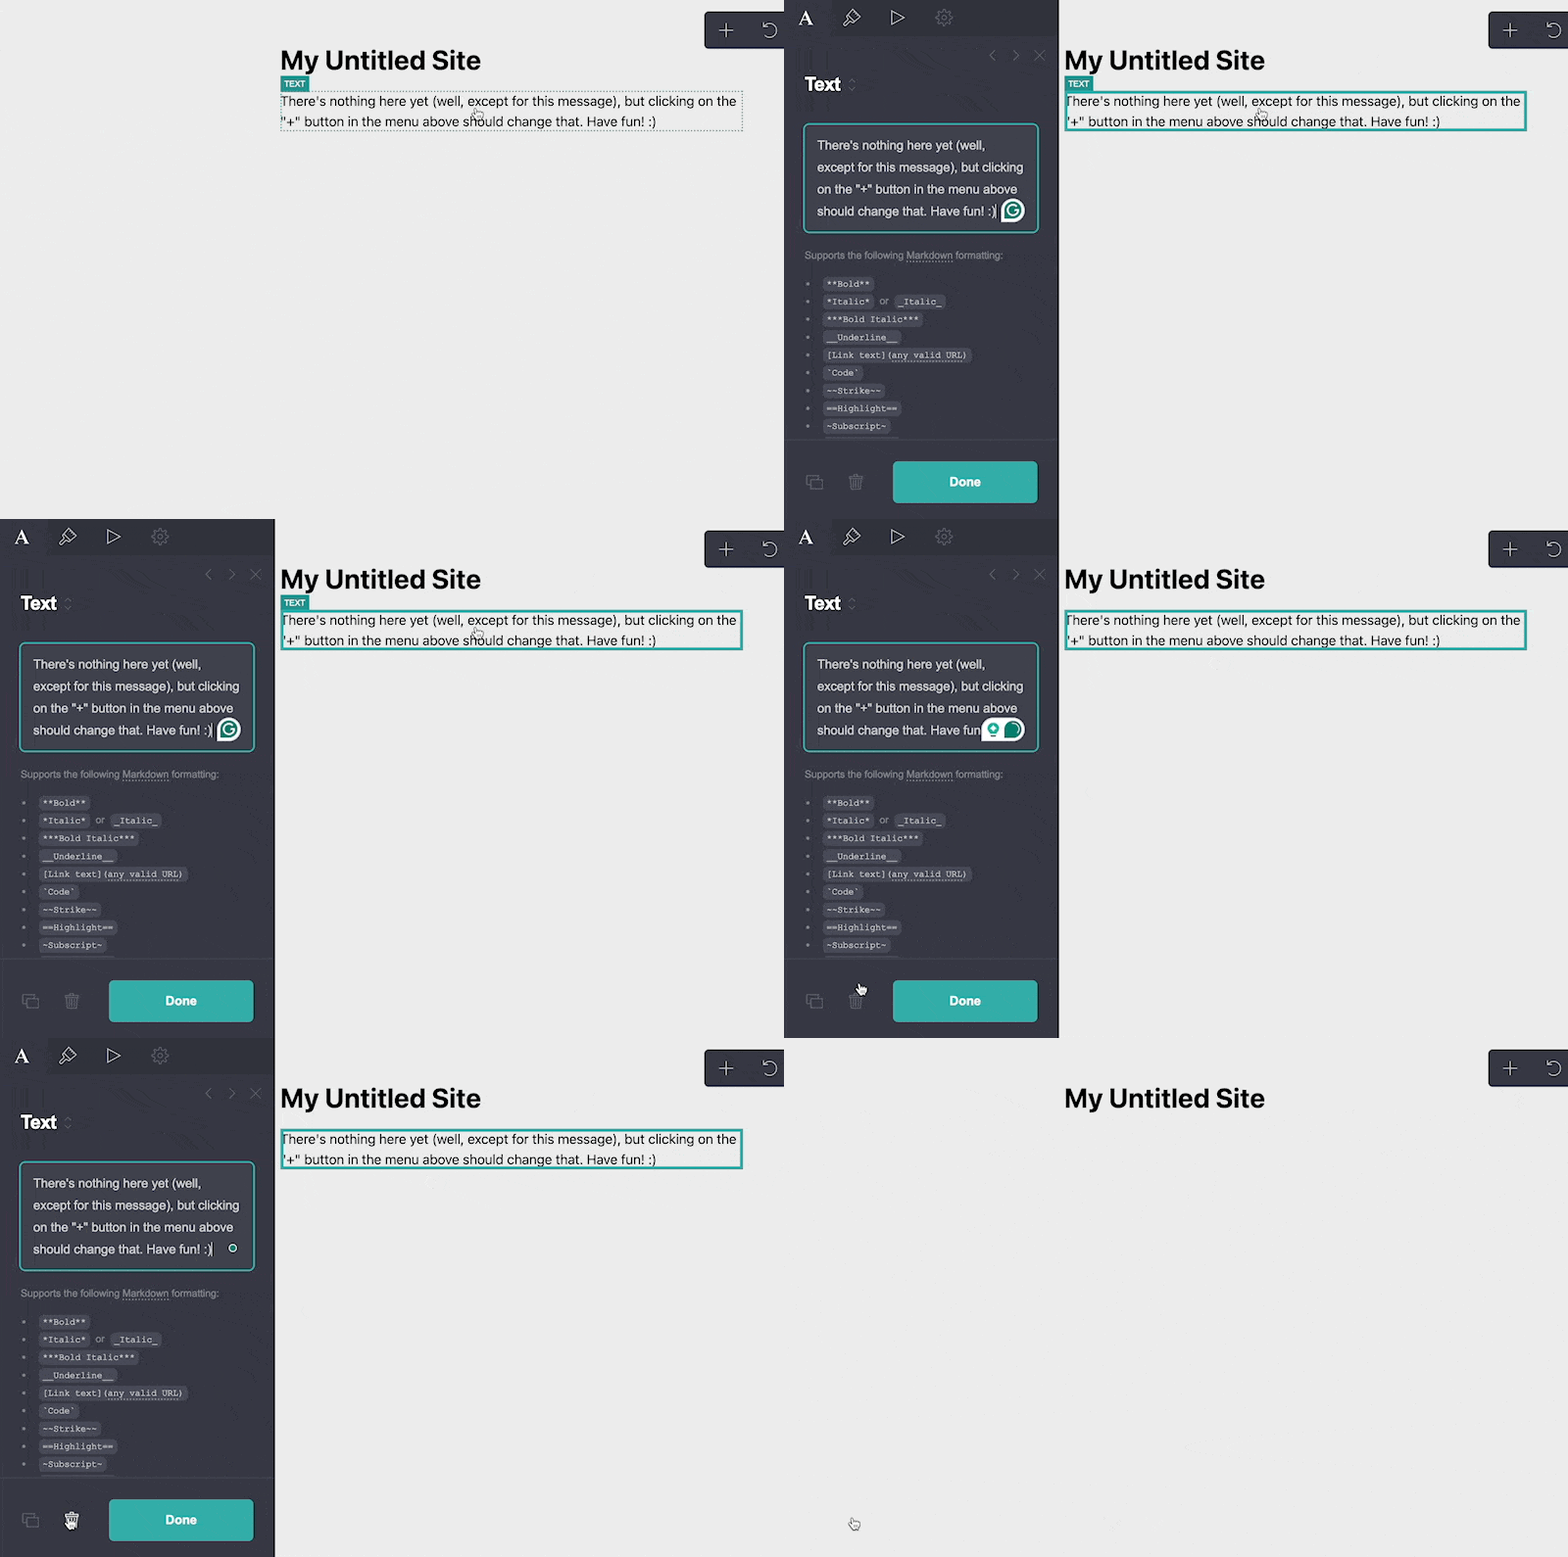
Click the text element and delete it since we won't be needing this.
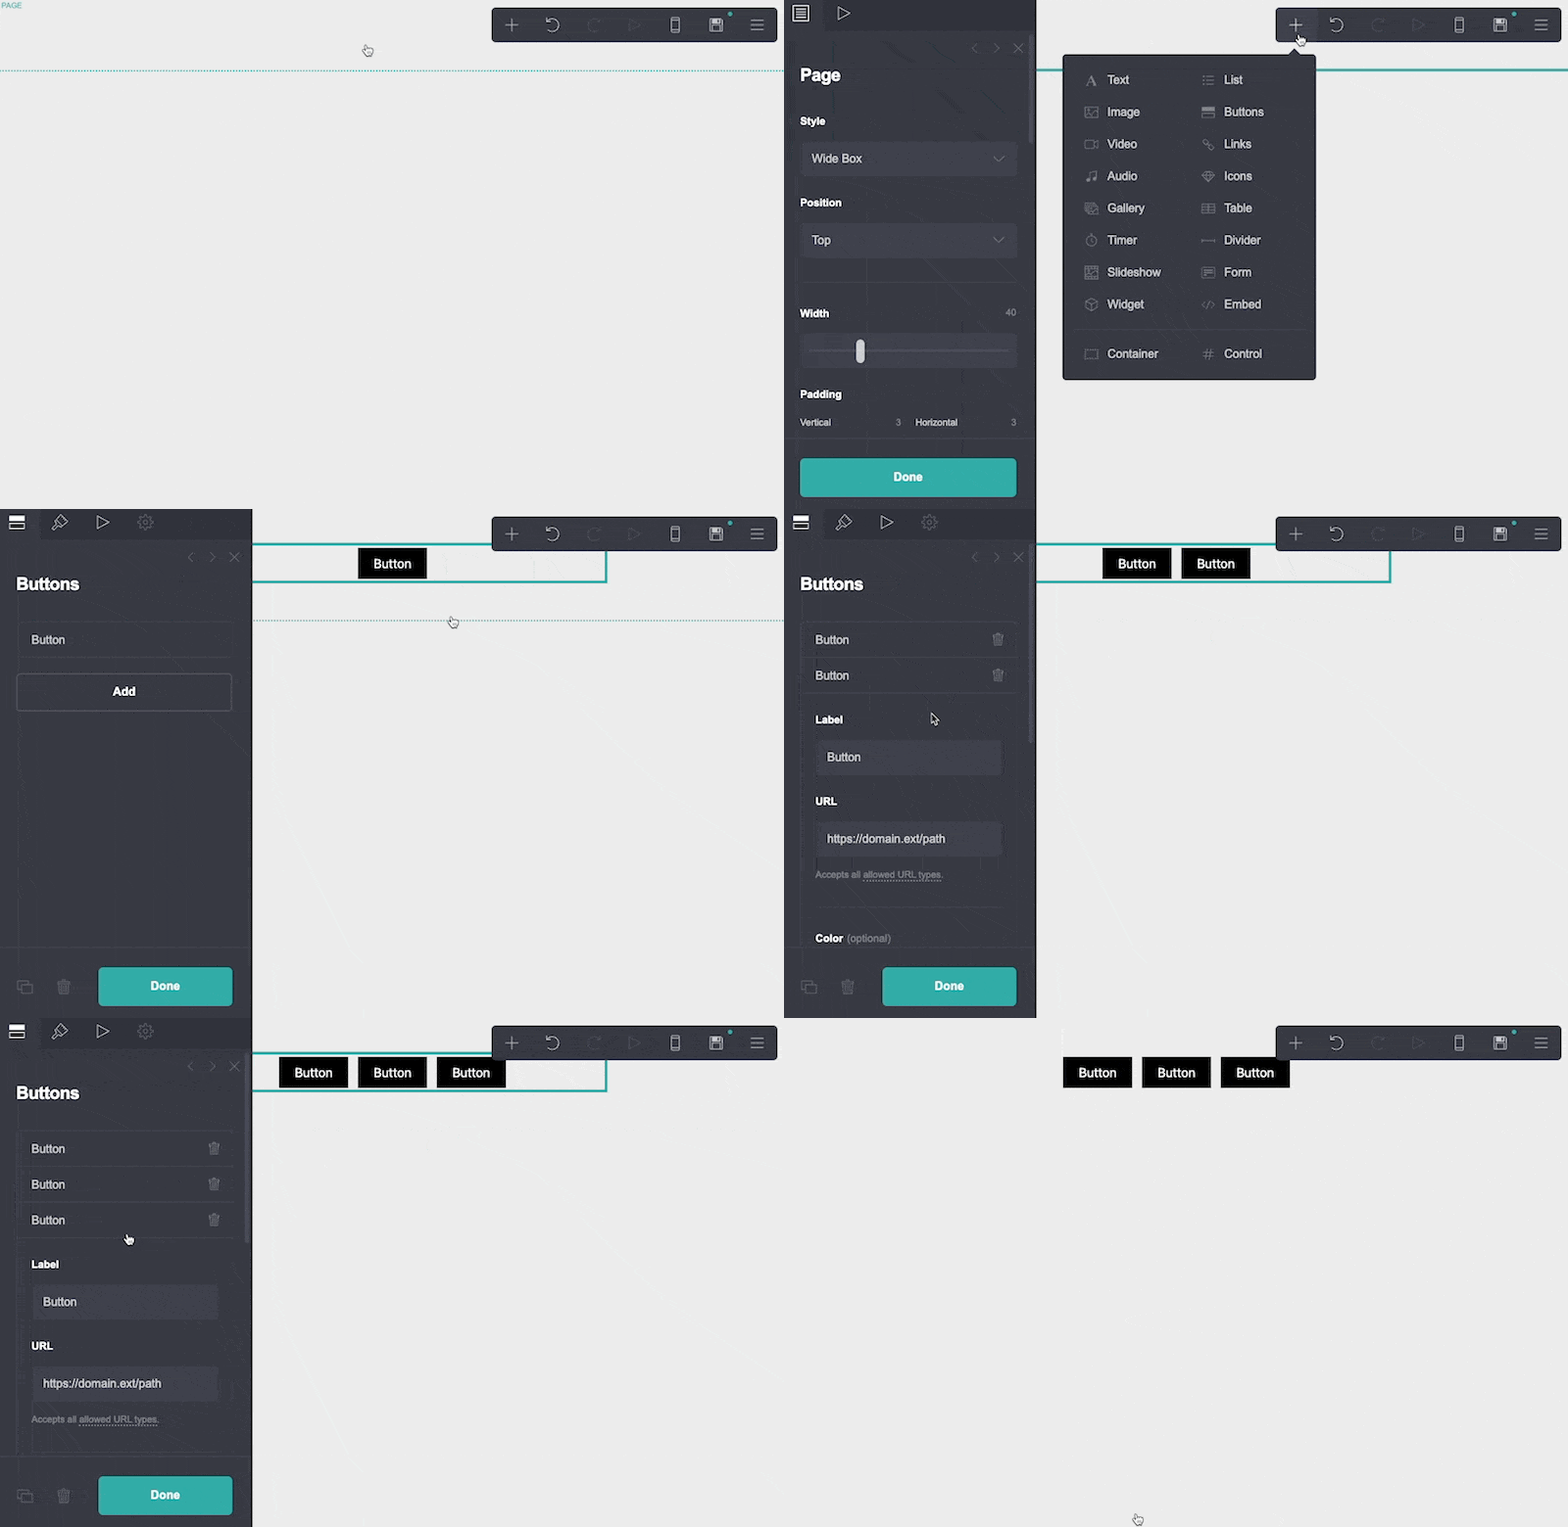
Instead, add 3 buttons for the top navigation. The goal is so that when we click on each button, it leads to a different page on the site.
Click the first button and update the Label and URL.
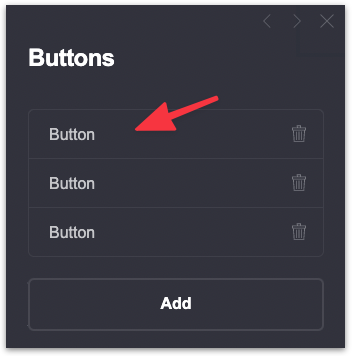
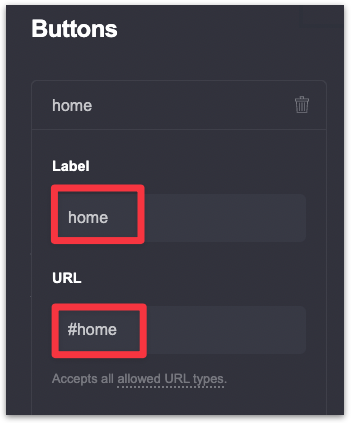
Label — This is the name of the page.
URL — Include the hash (#) follow by the name of your page.
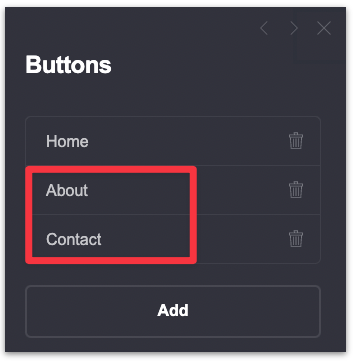
Now repeat the same process for the other 2 buttons and name them About and Contact respectively. Make sure to update the URL as well.
A typical website has 3 sections in general.
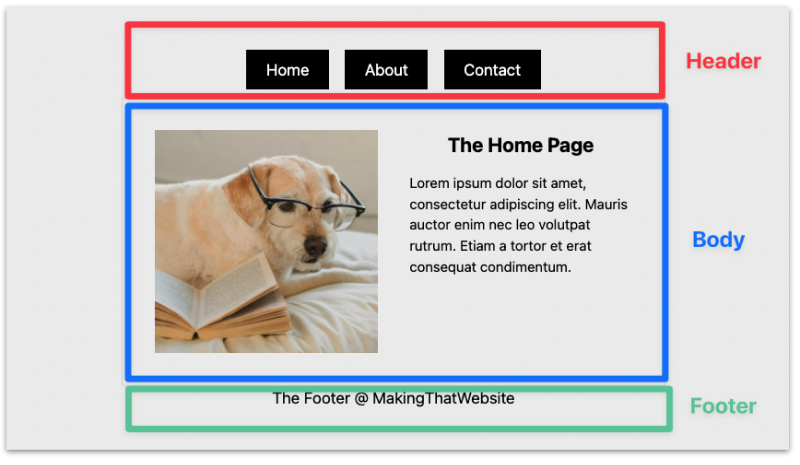
The Header and the Footer section don't change even when the user navigate to other pages.
To do this, create 3 Control elements for the page.
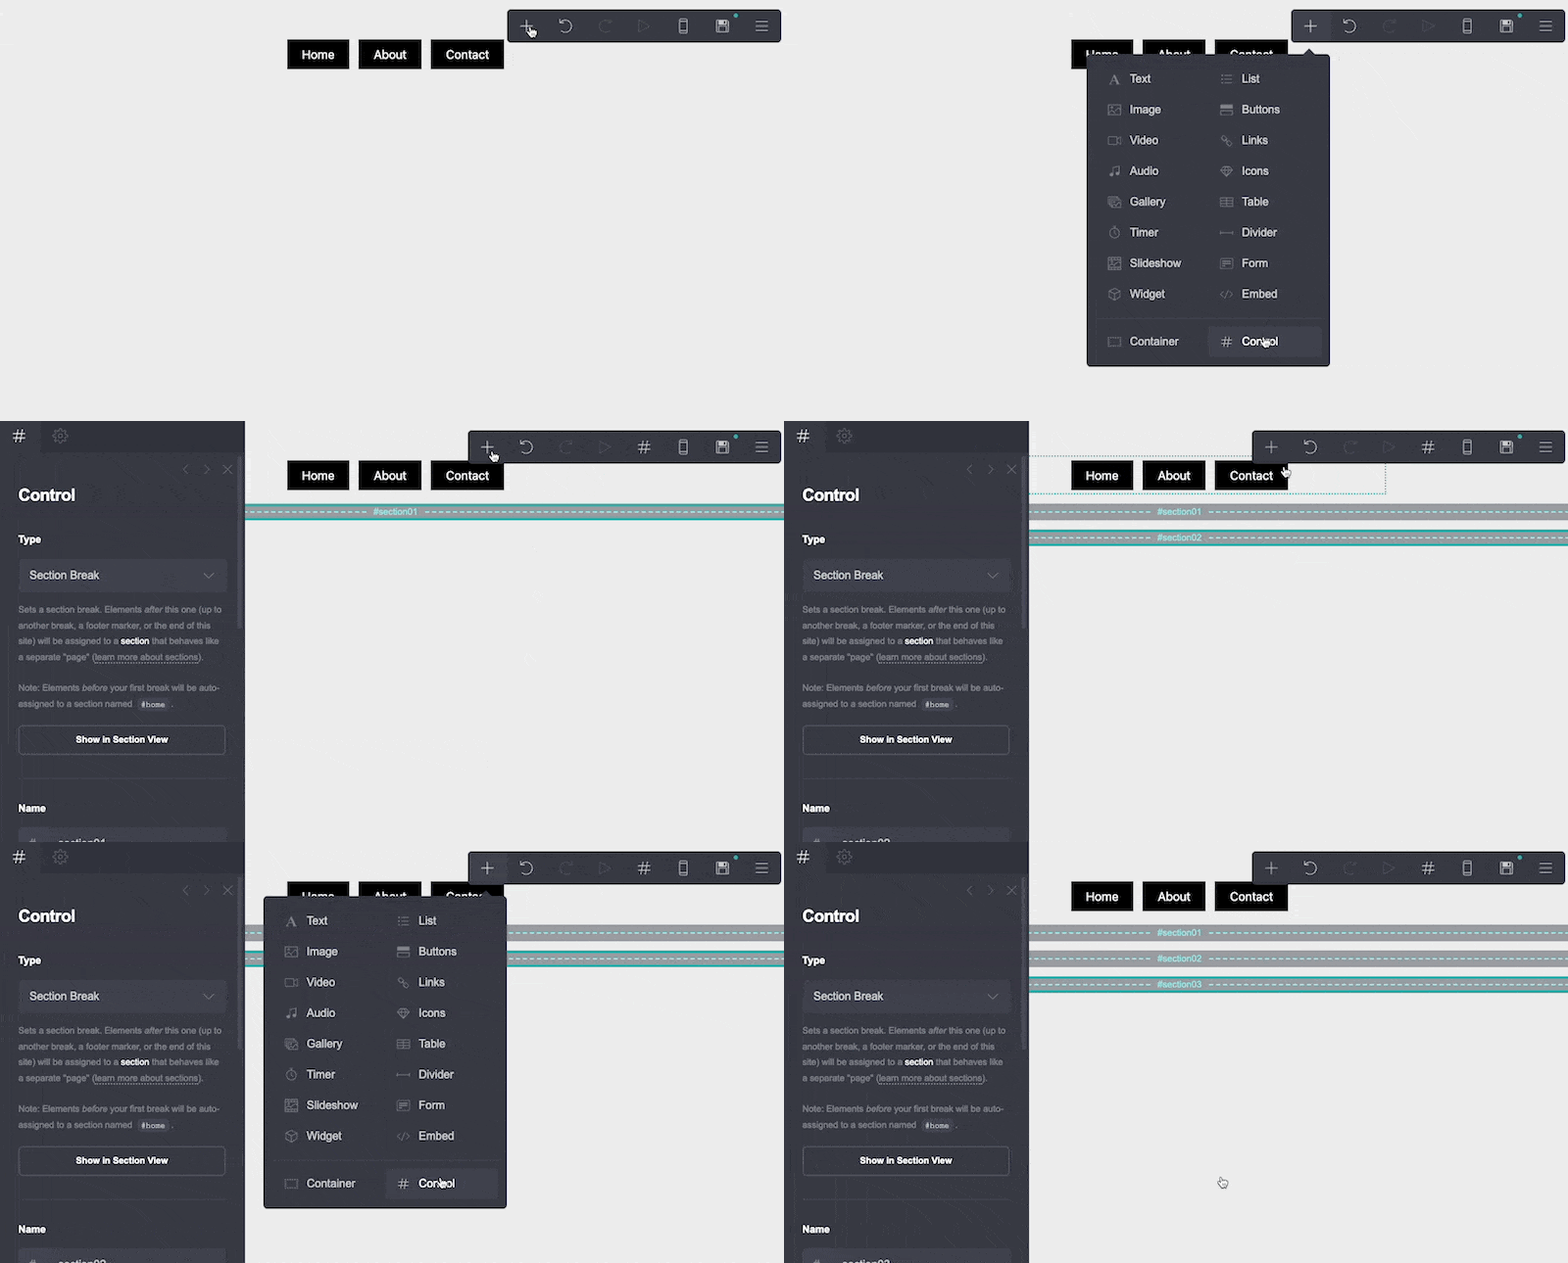
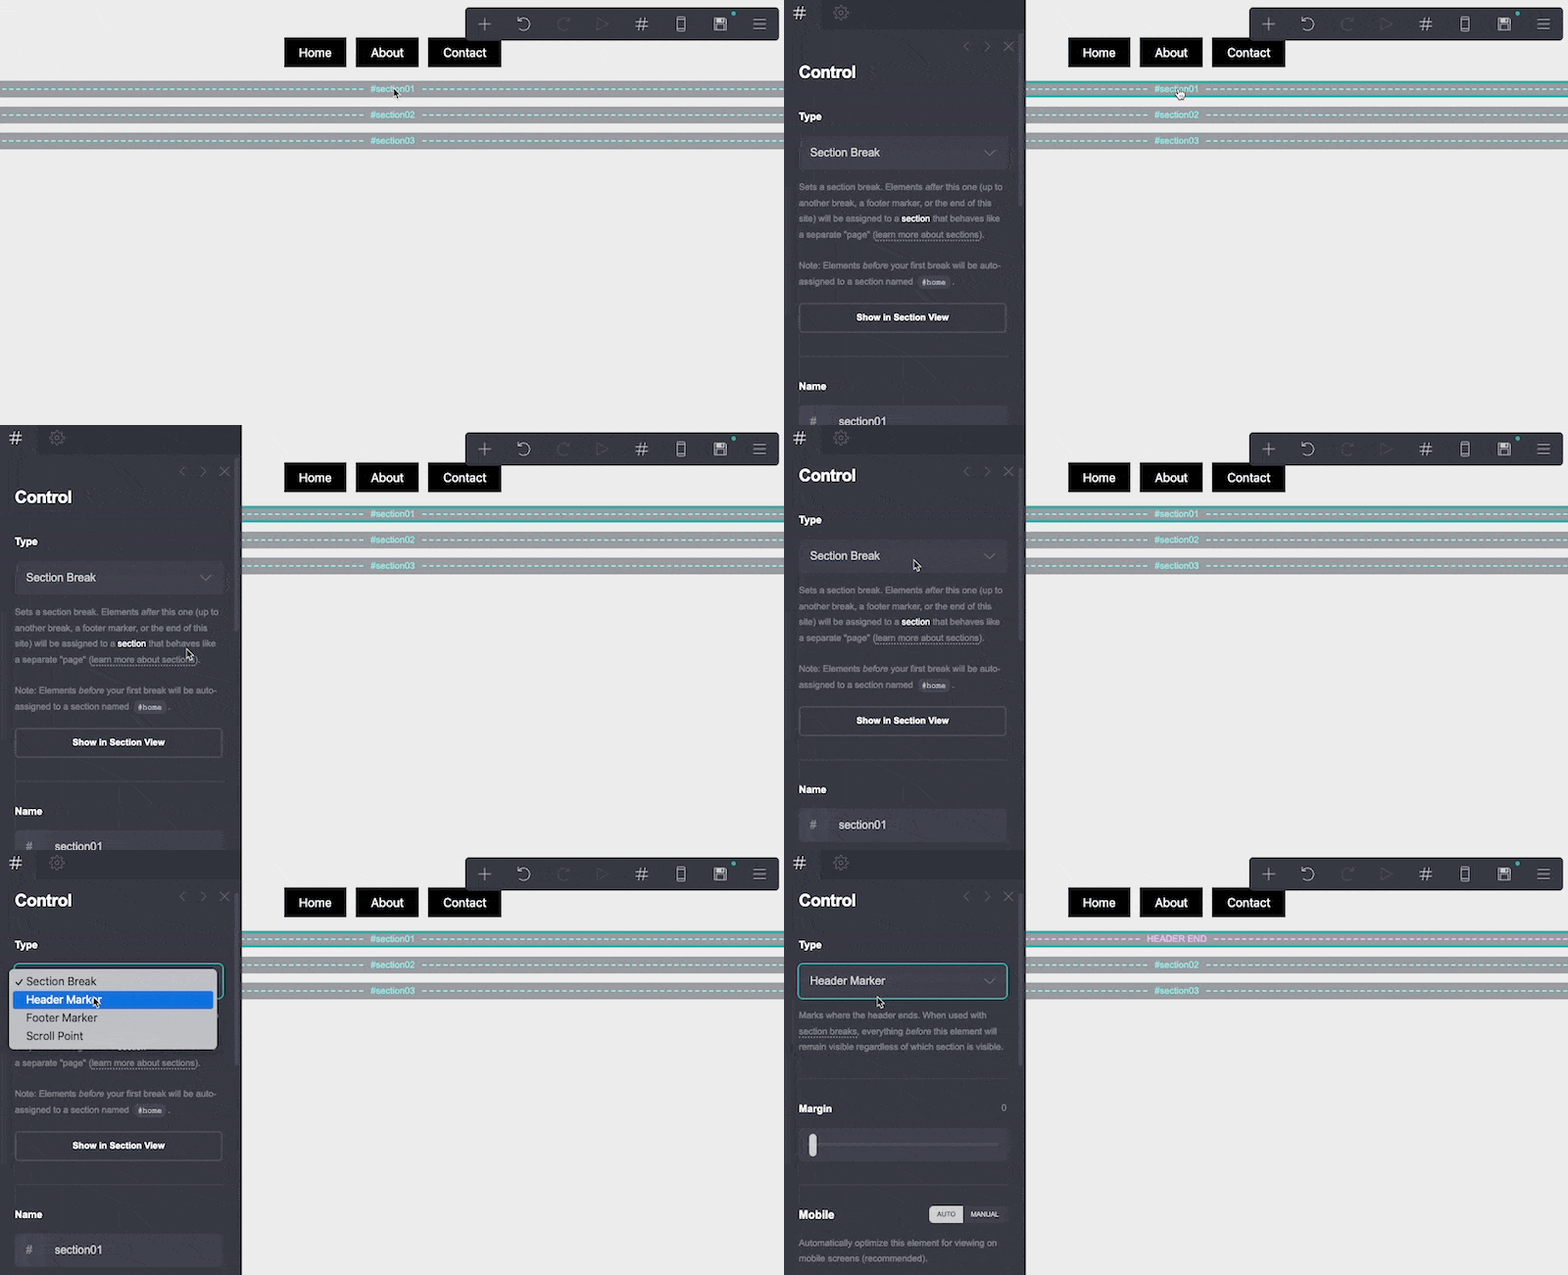
Set the first Control element type to Header Marker. By setting the Header Marker, any elements above (in this case the navigation) will remain unchanged.
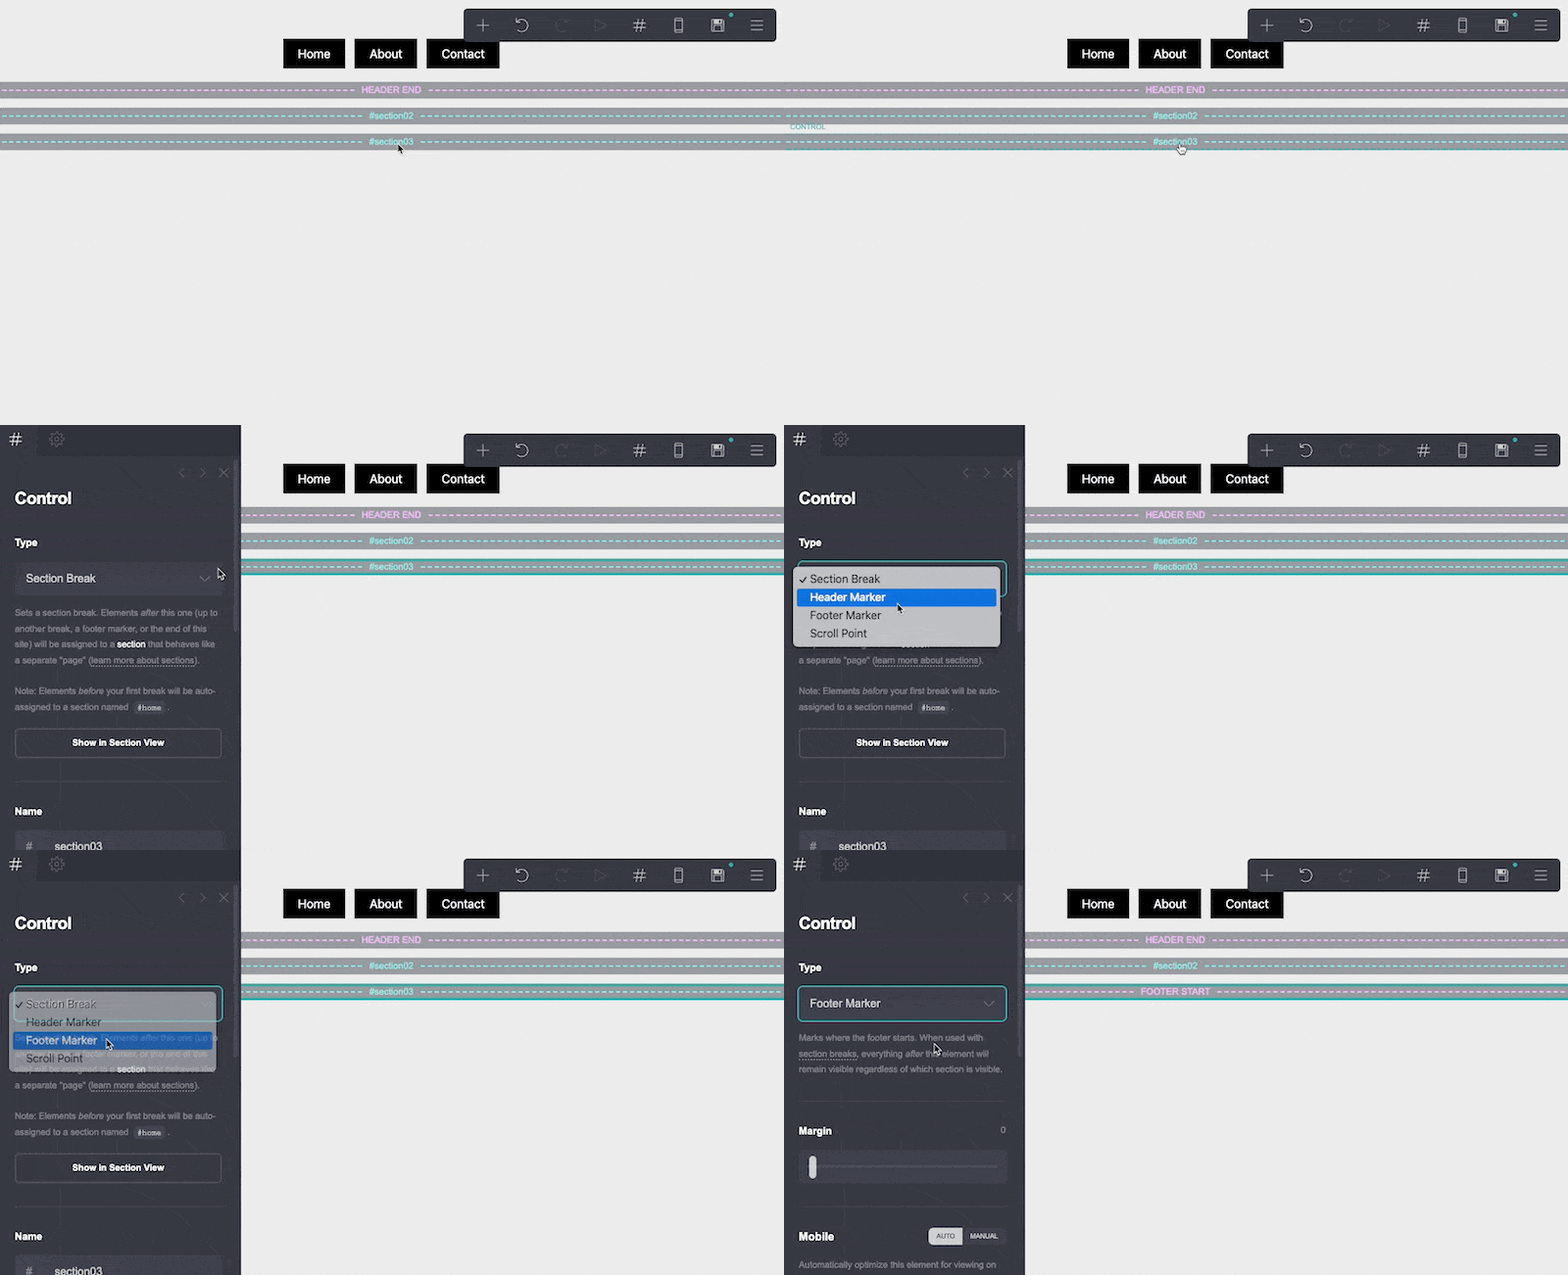
Then set the third Control element type to Footer Marker. By setting the Footer Marker, any elements below will remain unchanged.
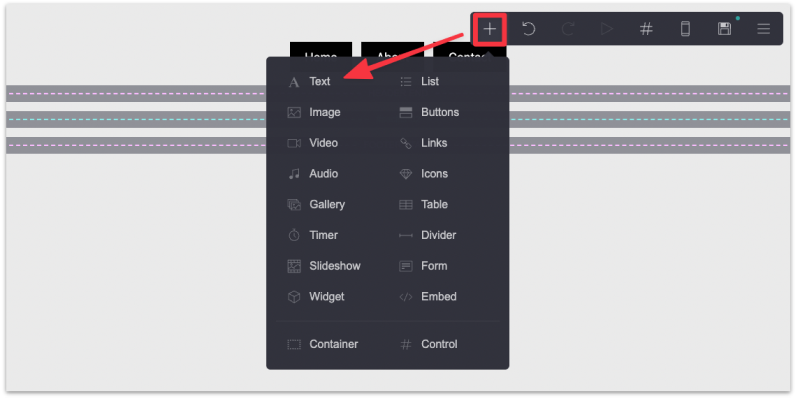
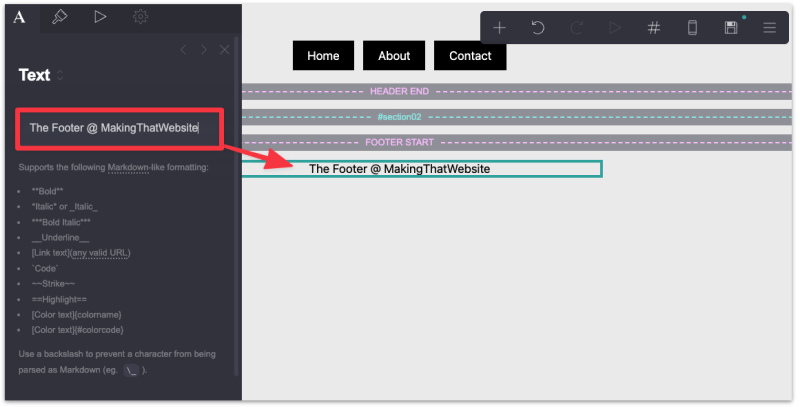
Add a footer text to the page. Make sure it is below the Footer element.
Now, we're finally creating multiple pages for the Carrd website.
It's important to know that in Carrd you're not actually creating a new page.
Carrd is only capable of building a one page website (for now). You're just creating new sections of the same page and make it seem that the user is navigating to different pages.
To do this we need to add new Control elements (i.e new sections of the page).
Add 2 new Control elements to the page and make sure they're in between the Header and the Footer element (by dragging them).
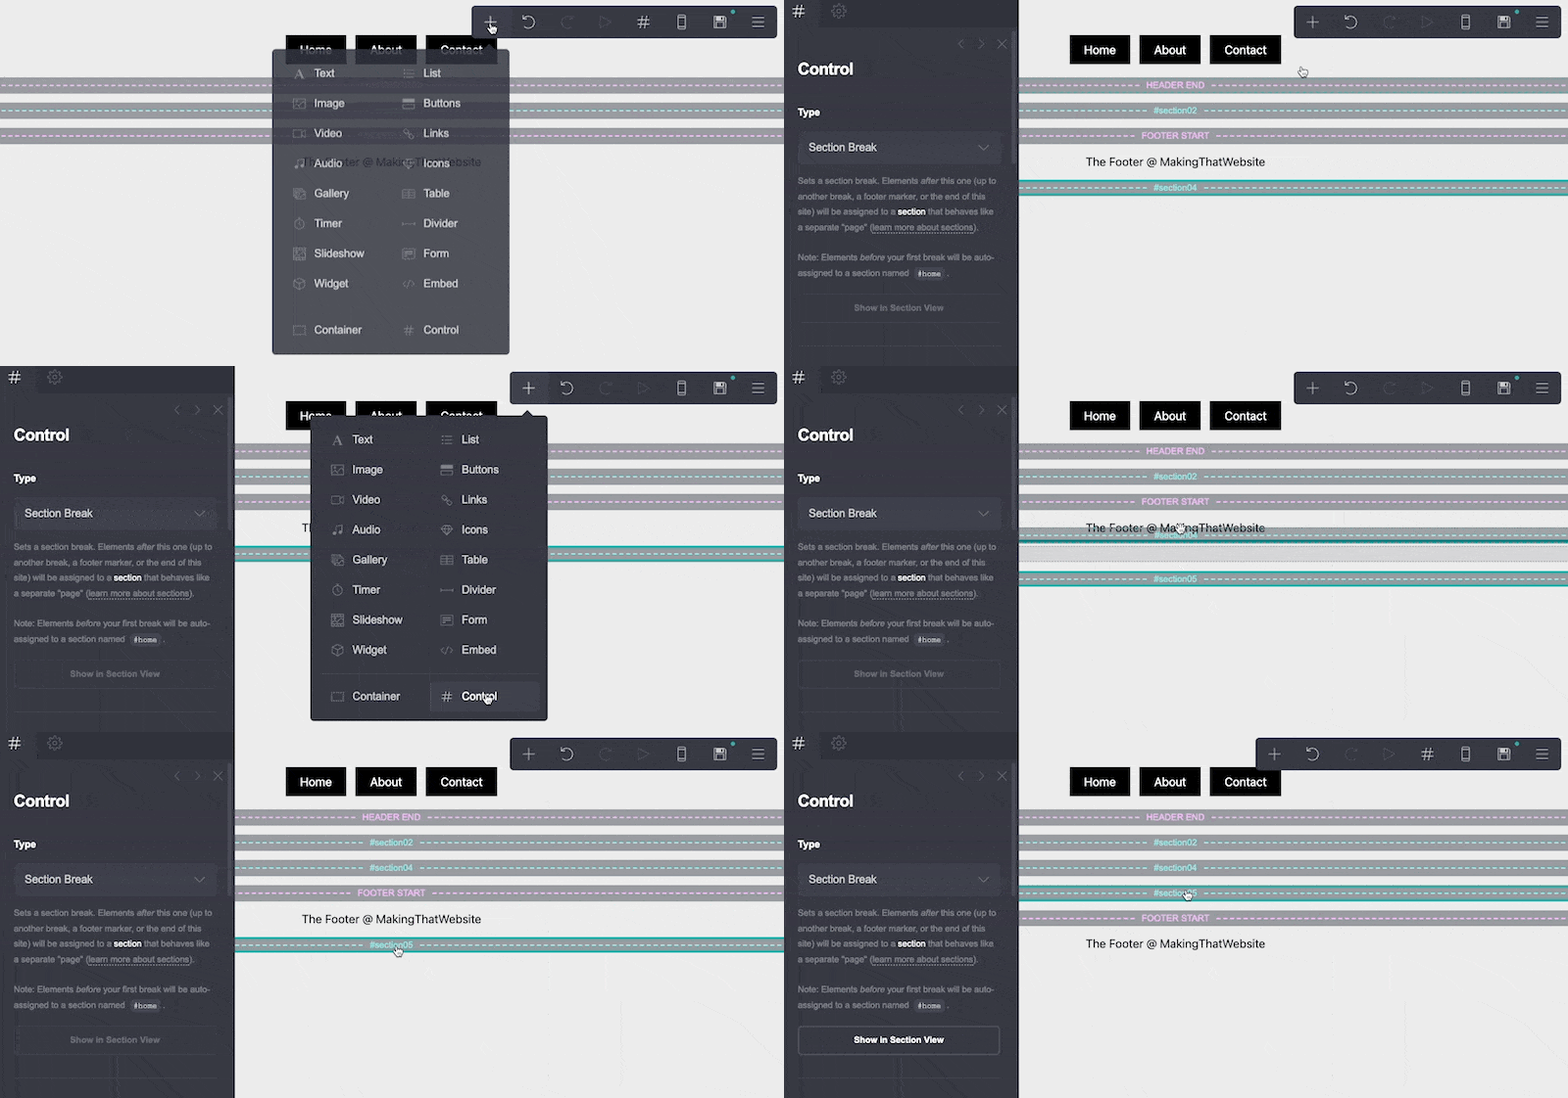
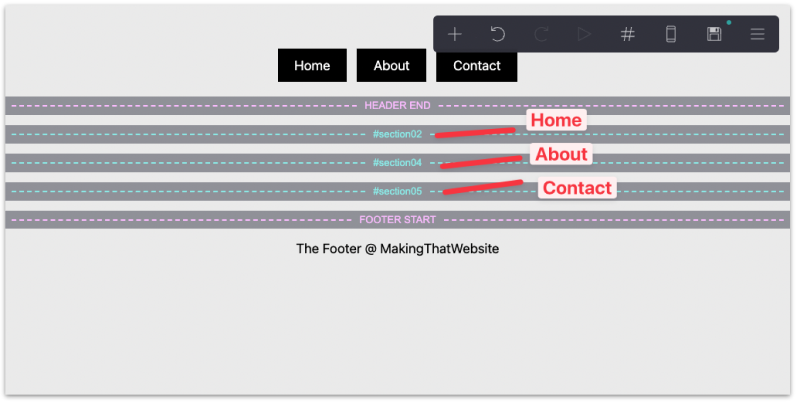
We now have 3 sections that will coincide with the 3 different "pages" we have, namely the Home, About, and the Contact page.
Next, we need to rename the Control sections to "#home", "#about", and "#contact". Make sure the element type is Section Break, which tells Carrd to treat this section like a new page.
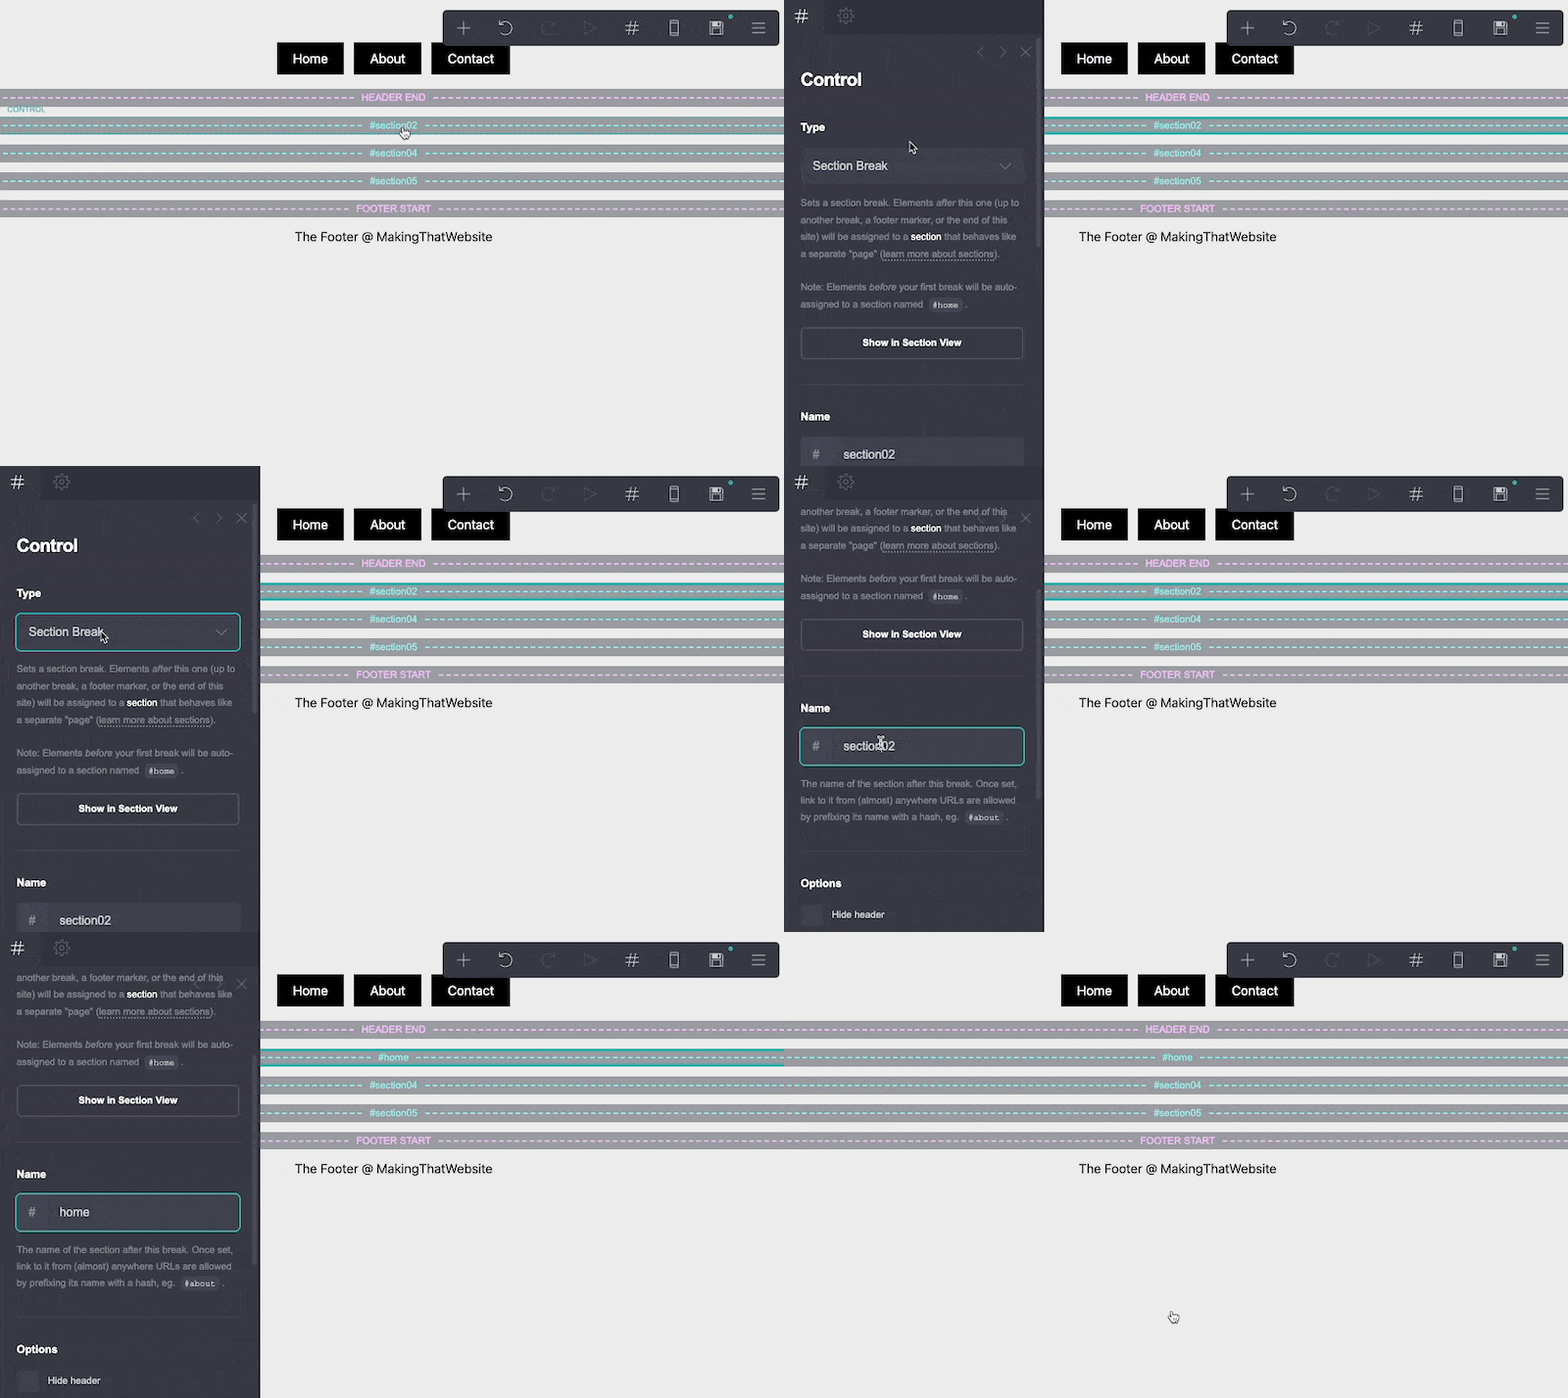
Repeat the step above for the other 2 sections and you should have them properly named.
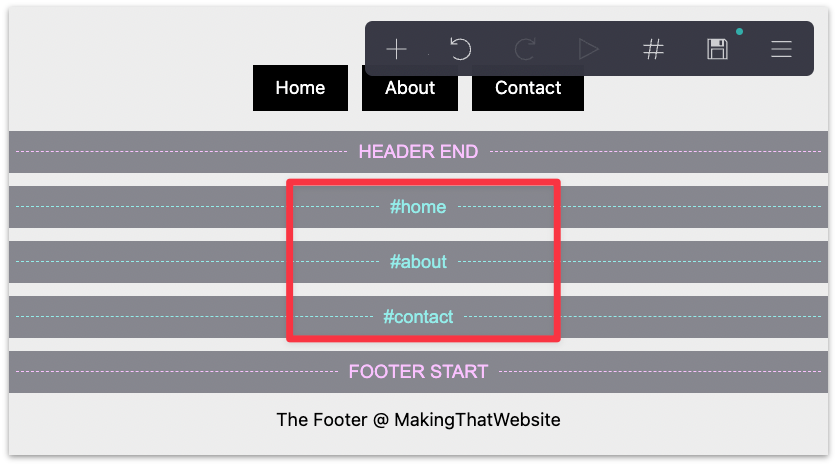
Important: For this to work, make sure the name of your section (home, about, contact) is the same as the URL of the navigation buttons (#home, #about, #contact).
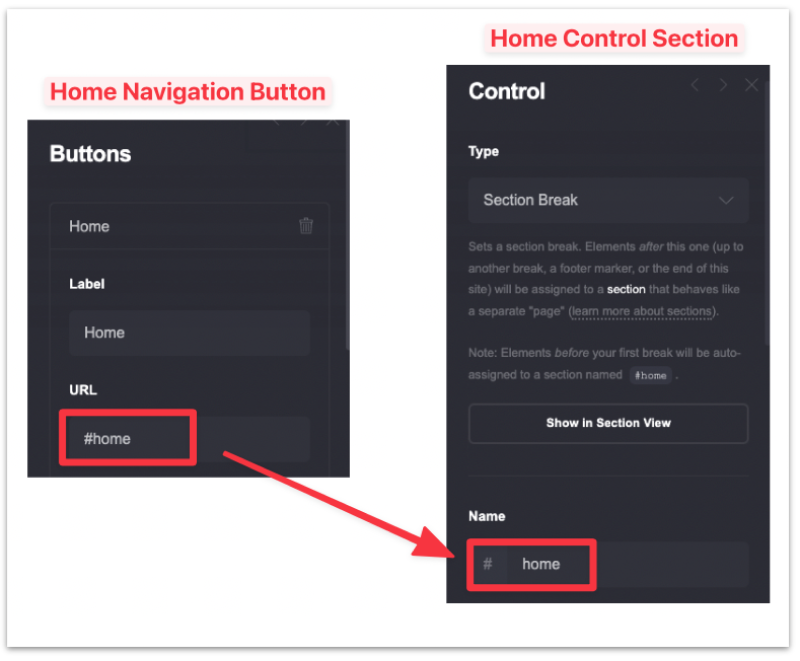
This is so that when the user clicks on the home navigation button , they will be redirected to the Home page.
At this point, the page is mostly empty so let's fill up the content for the home page.
Add a new Container element and set the Type to Column. Then drag the container just below #home.
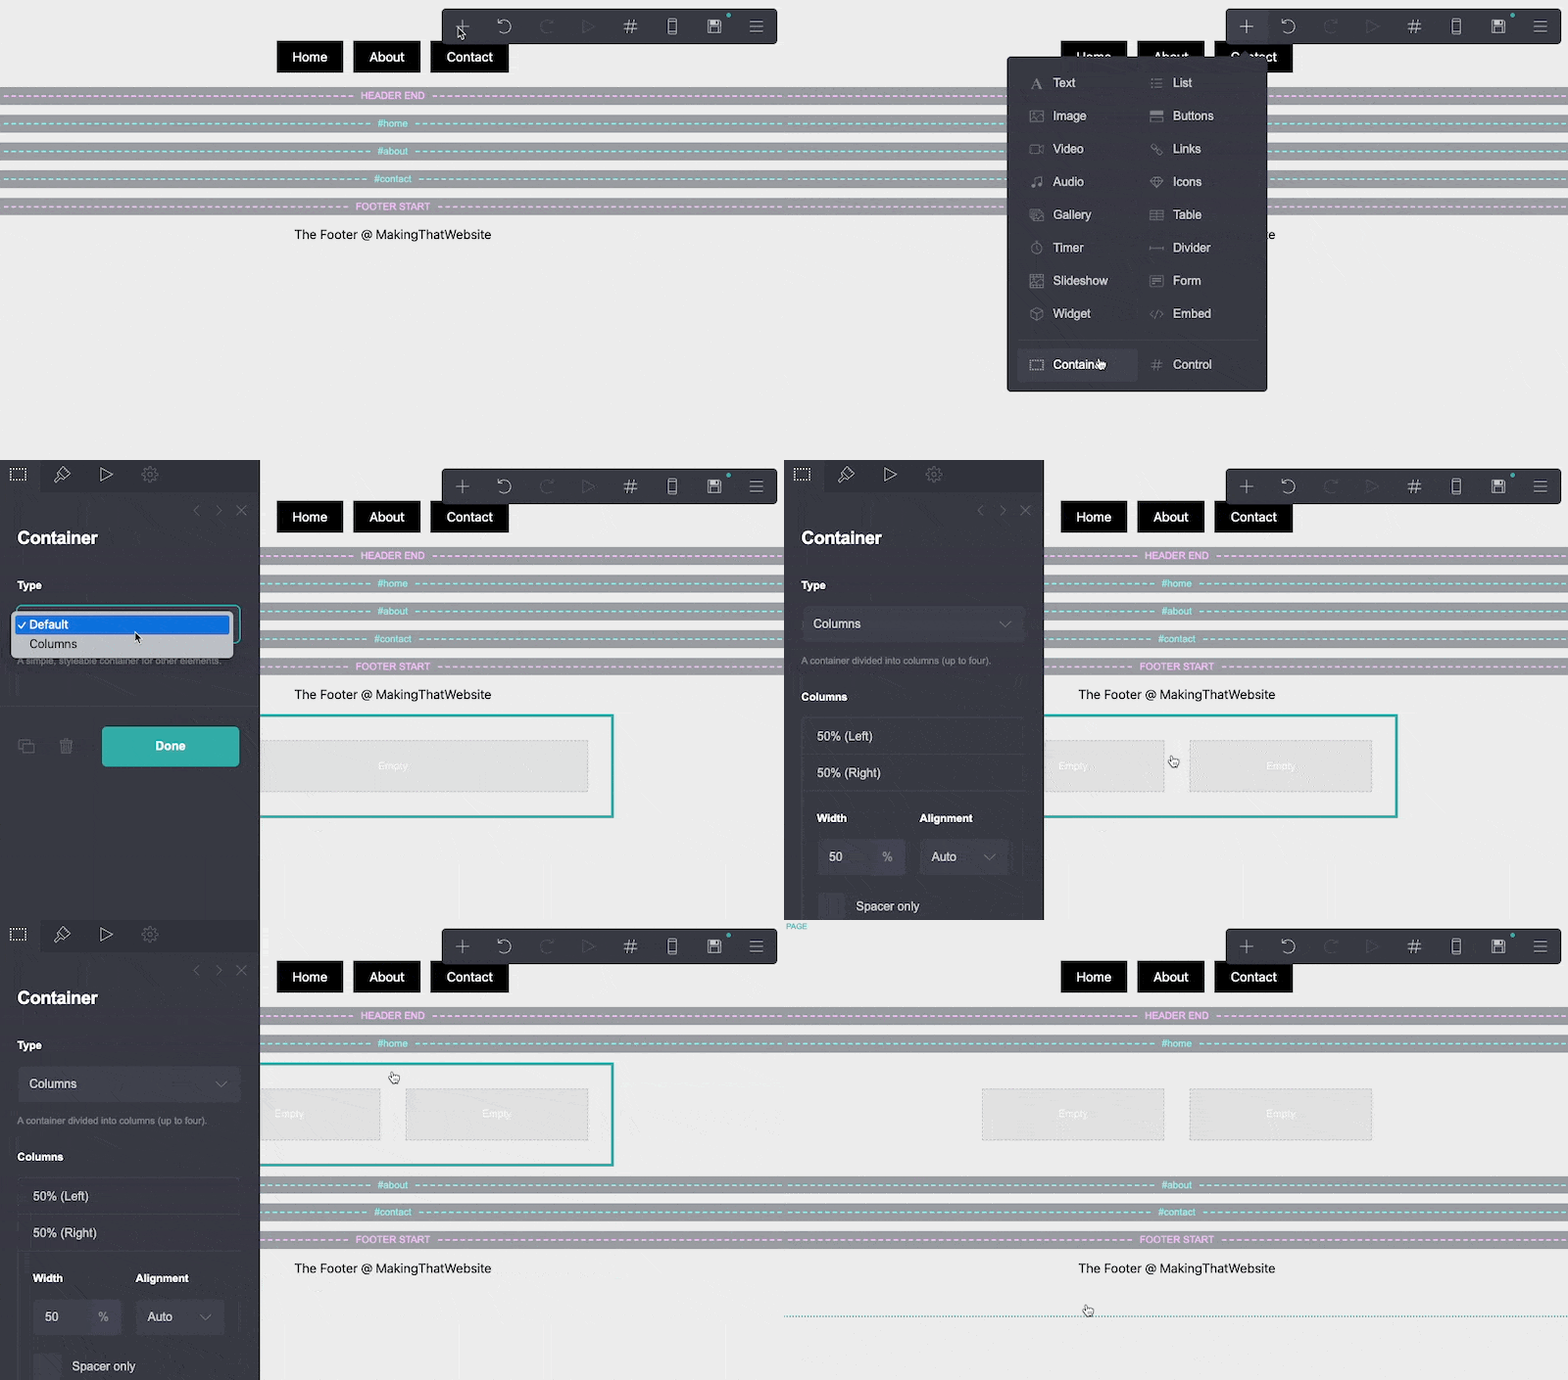
Next, add a border to the container.
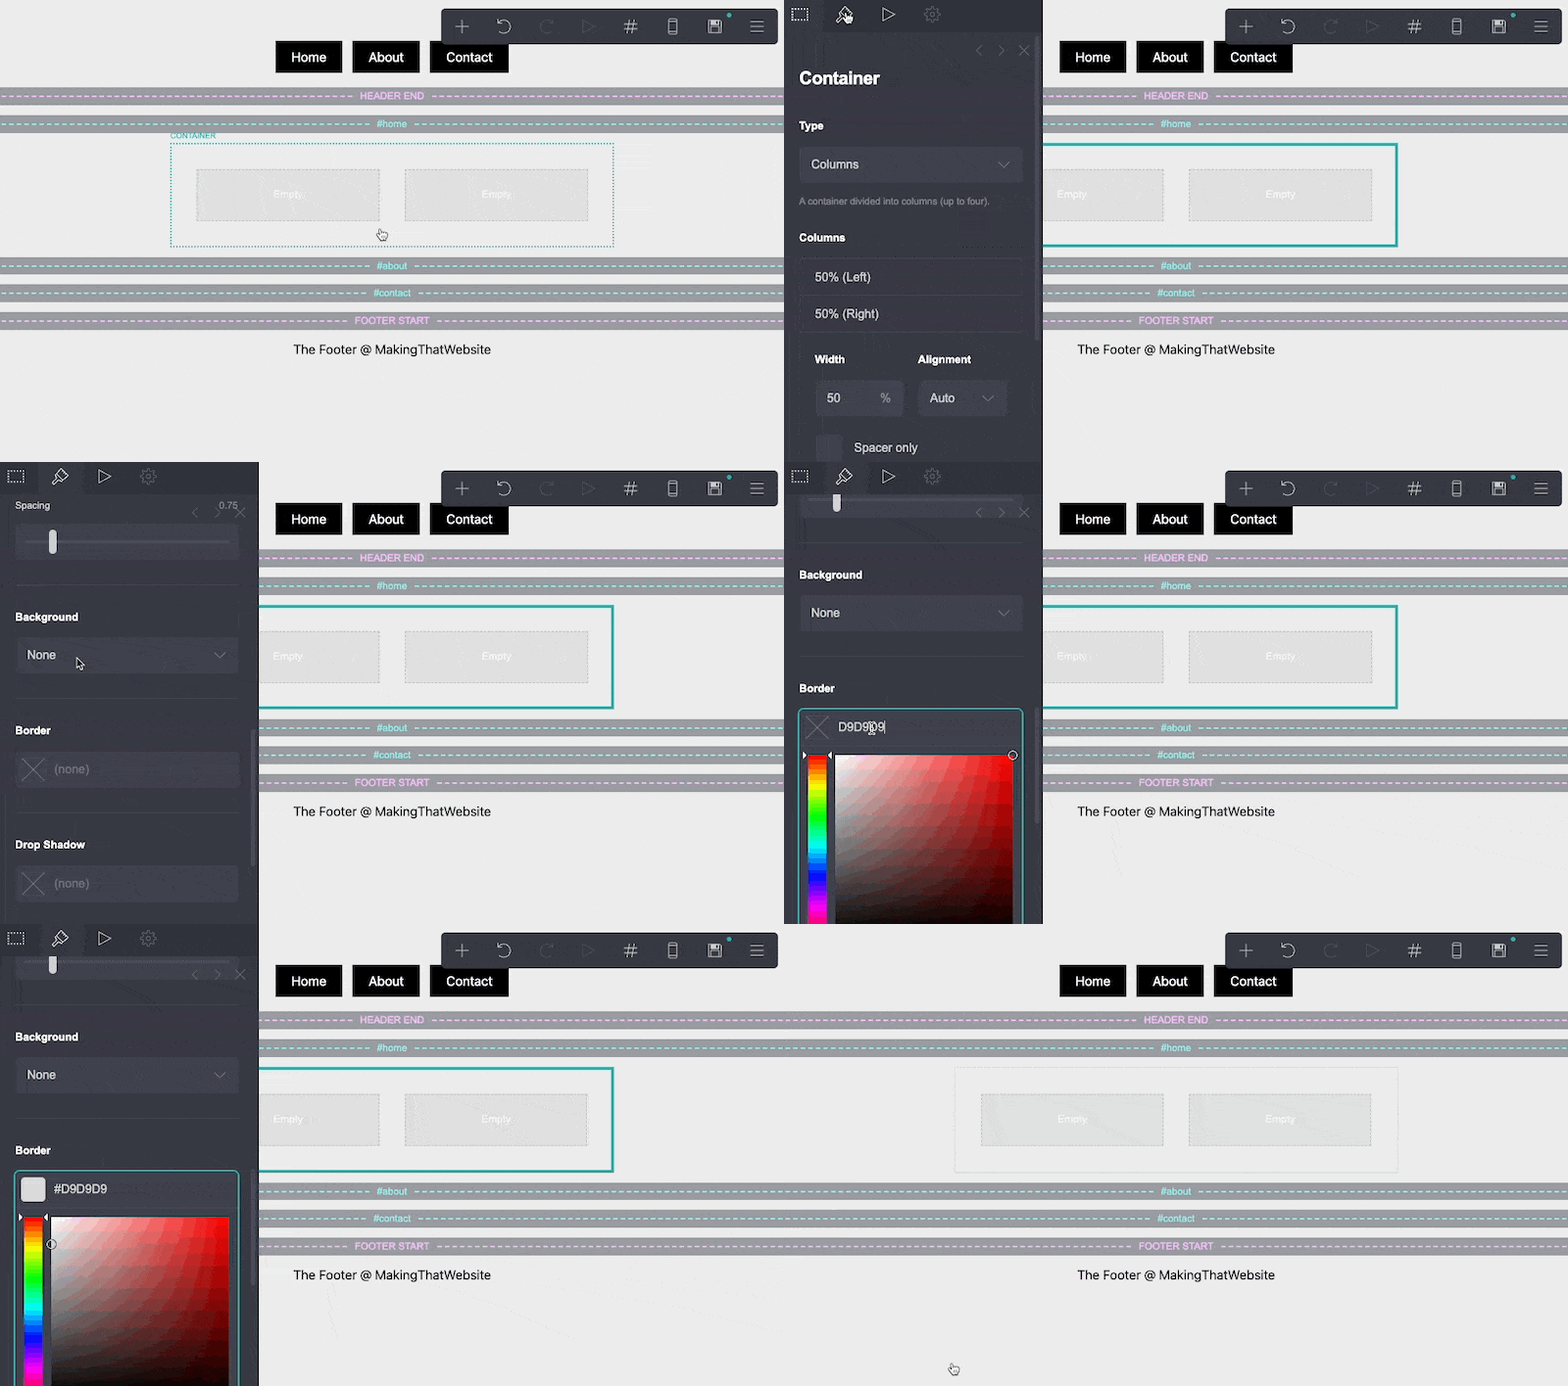
For the main content, add an Image and a Text element to each column.
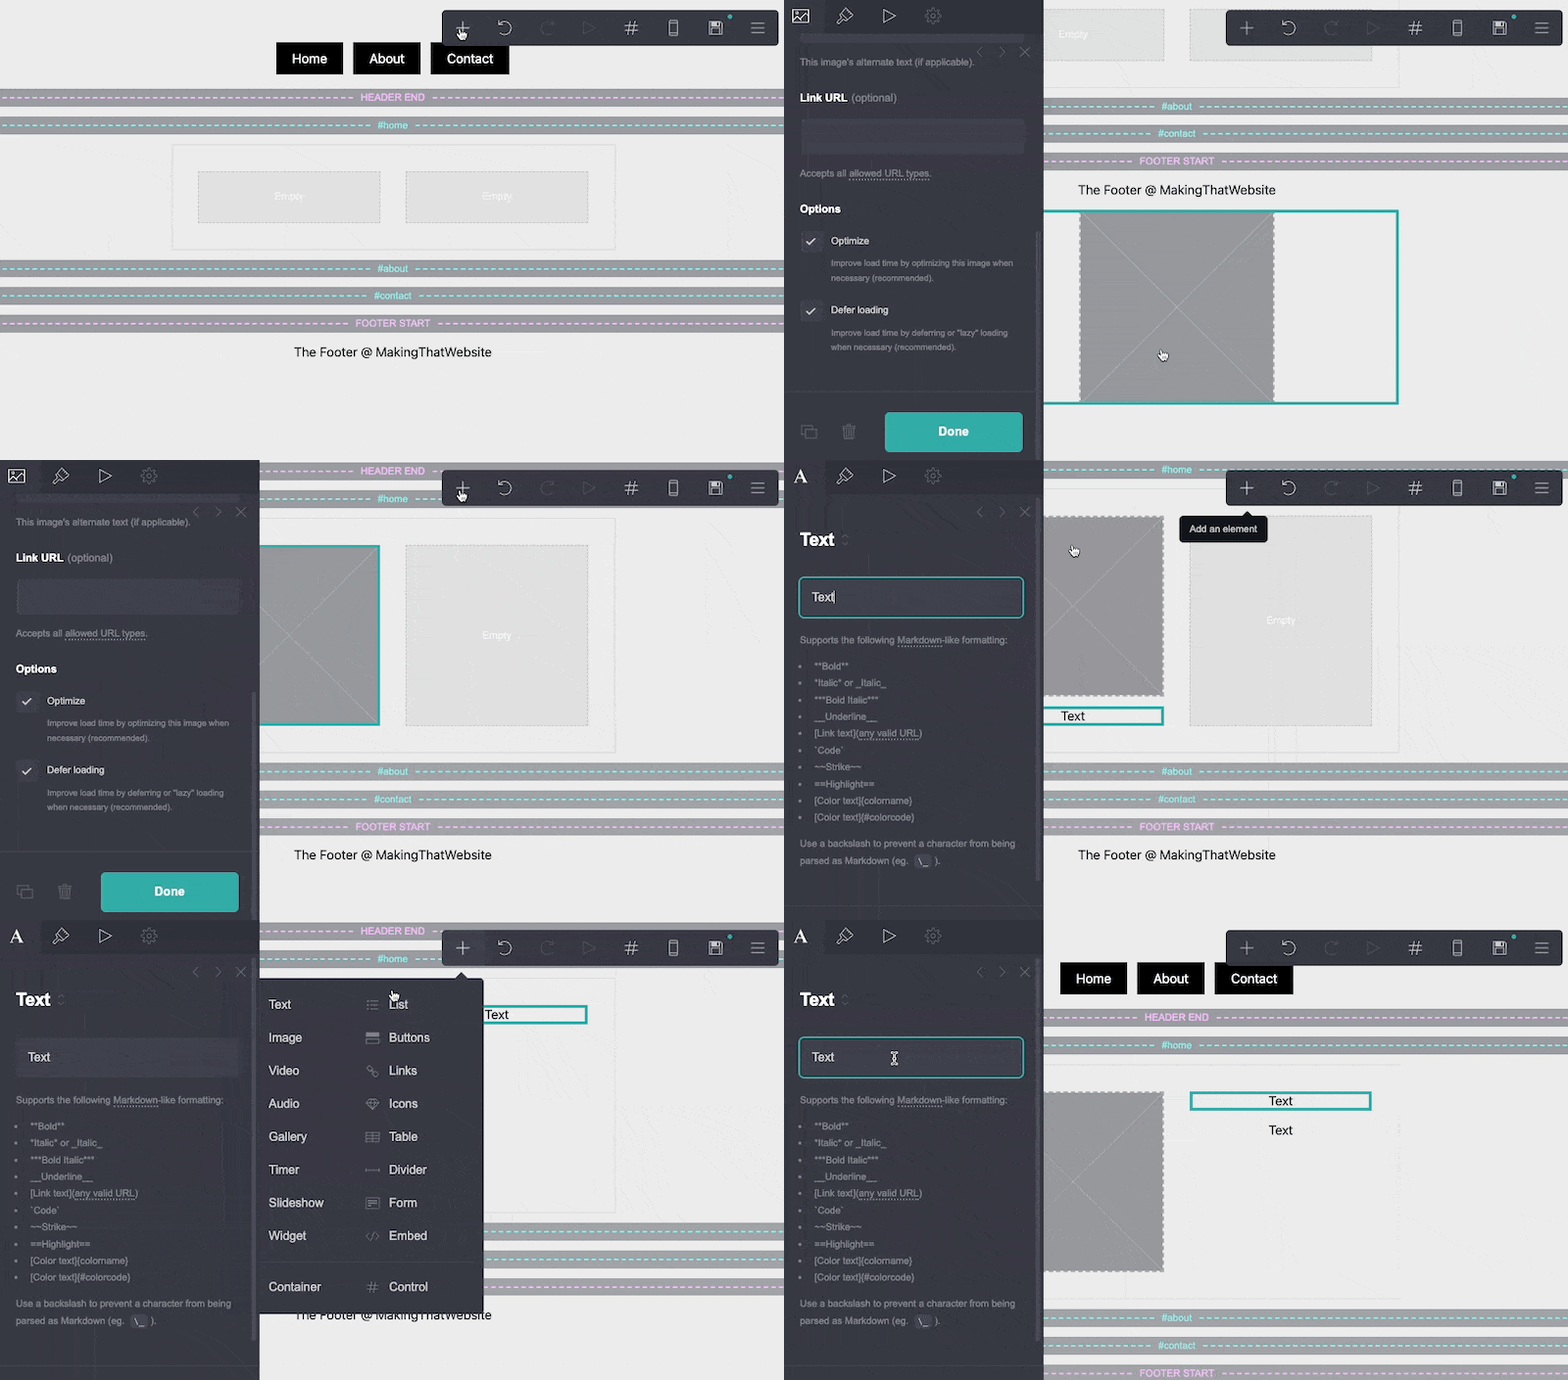
Upload an image of your choice and edit the text accordingly.
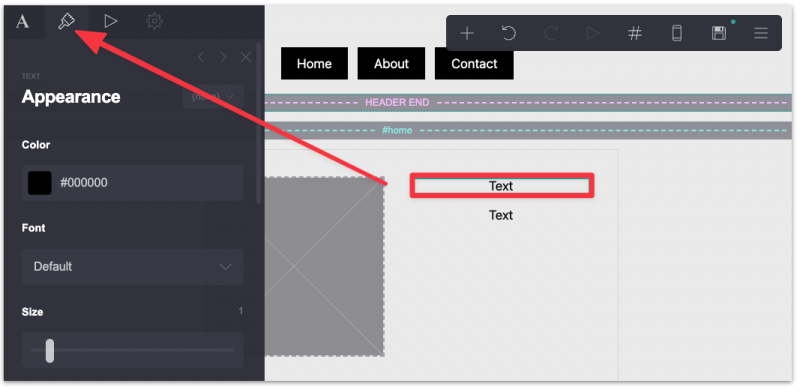
You can download free stock images from Pexels and customize the text in the appearance tab.
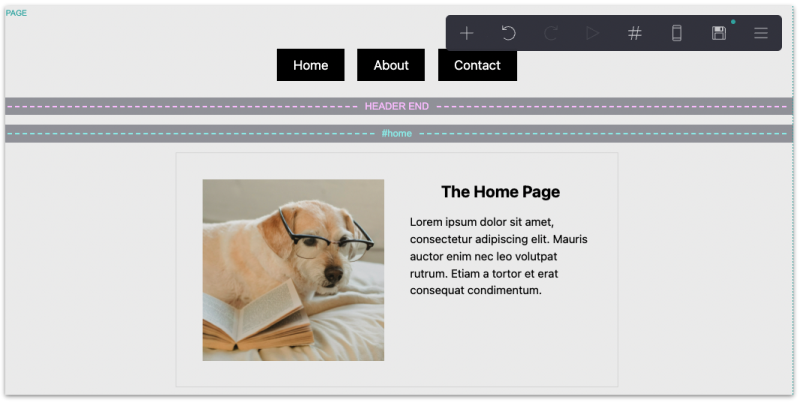
The end result for the "Home page" should look something like this:
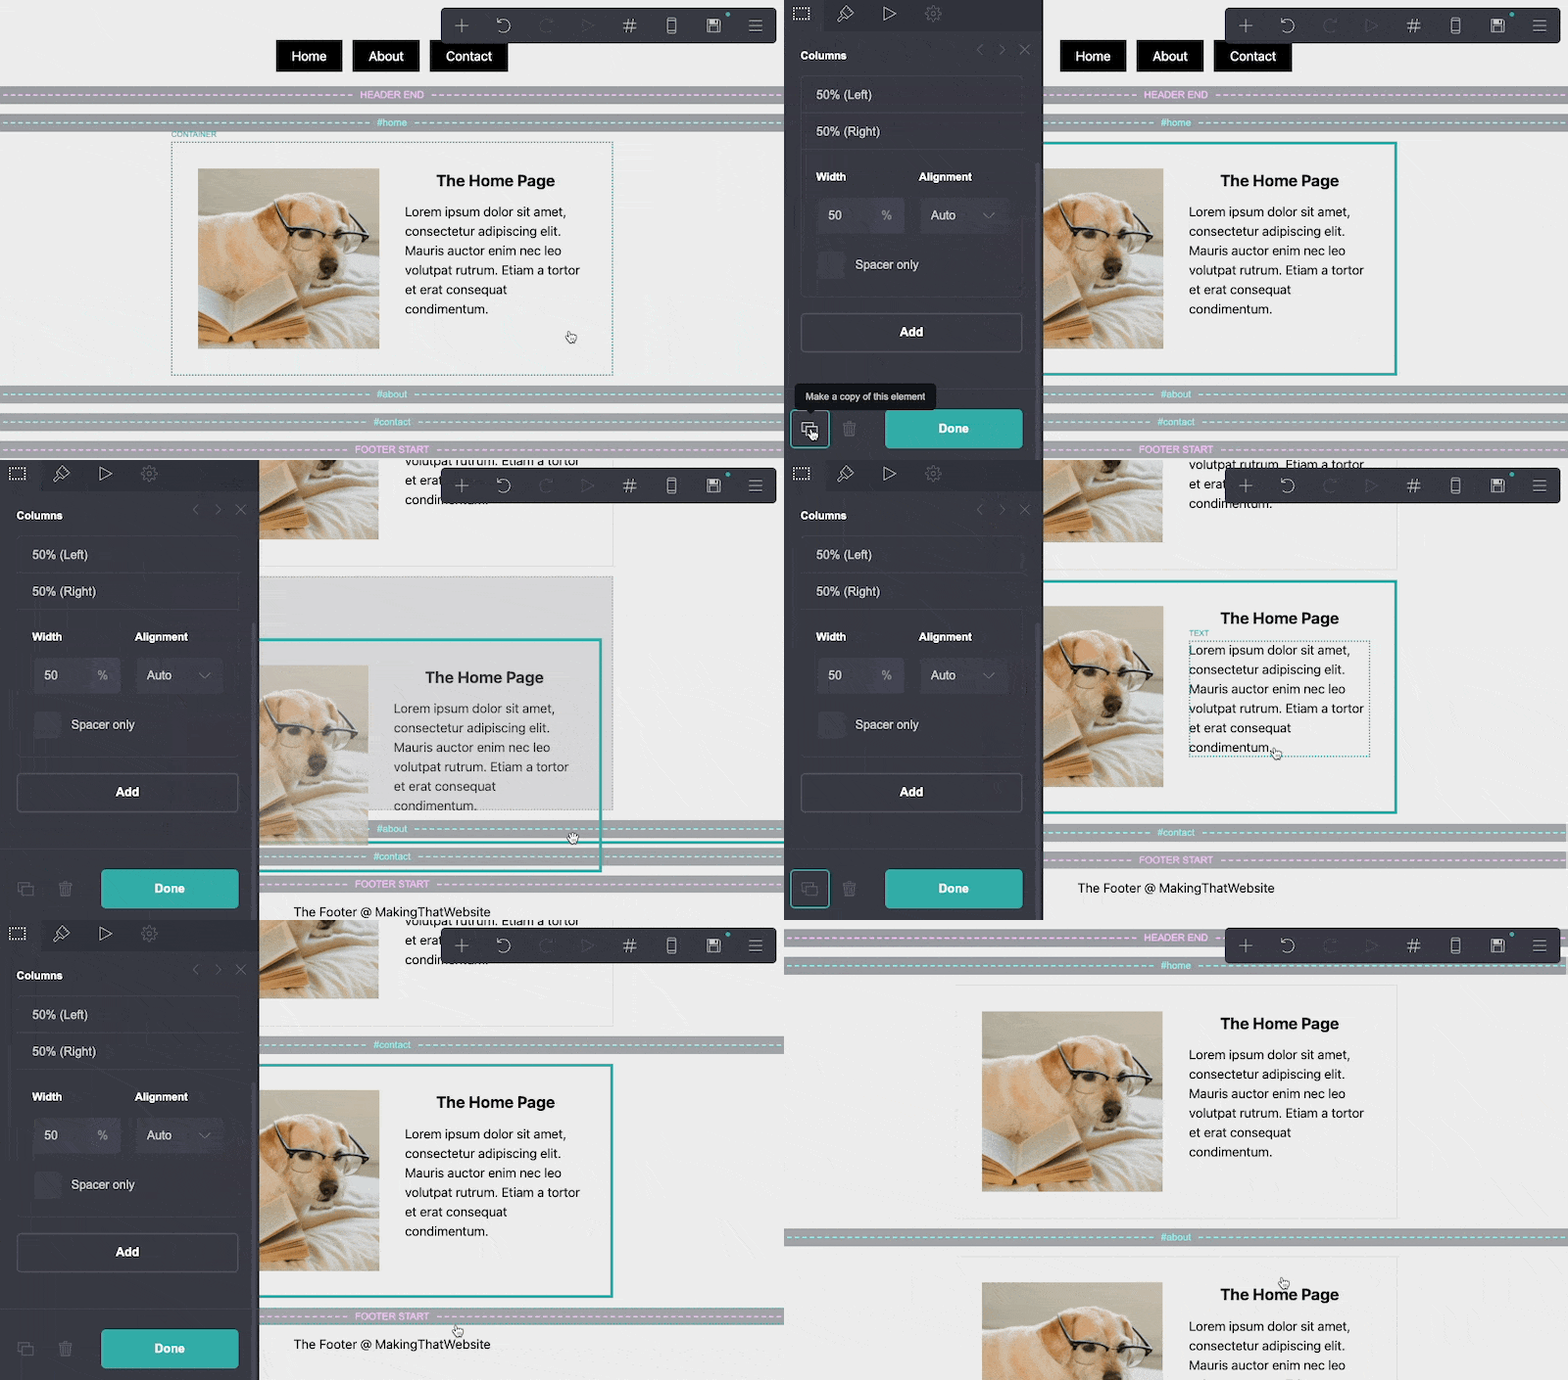
To save time adding content for the rest of the pages, make duplicates of the home page container and drag them below the About and Contact section.
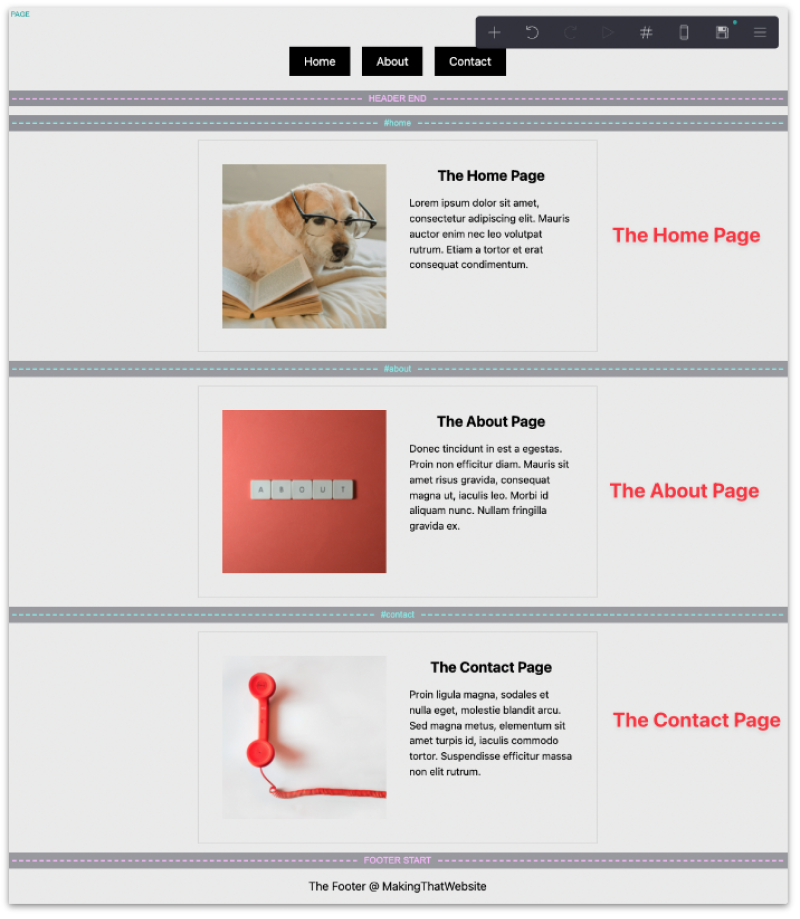
Customize the About and Contact container accordingly and the end result should look something like this:
We're pretty close at this point. All we have to do is publish the website and you will see the multiple-page website in action!
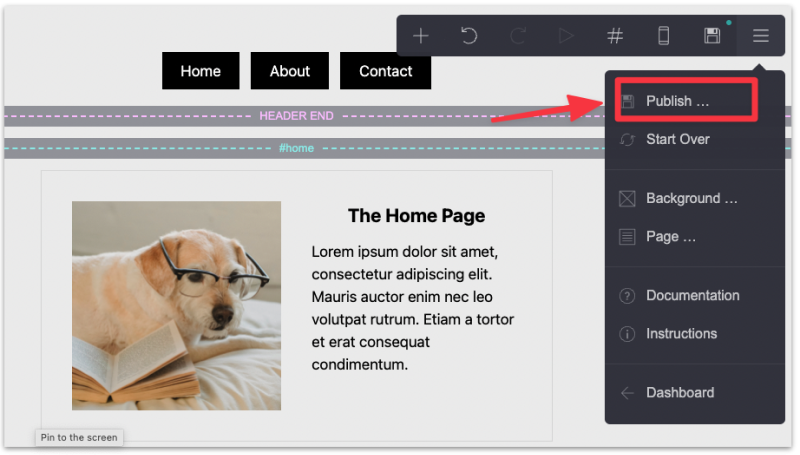
Once published, click View Site to test it out.
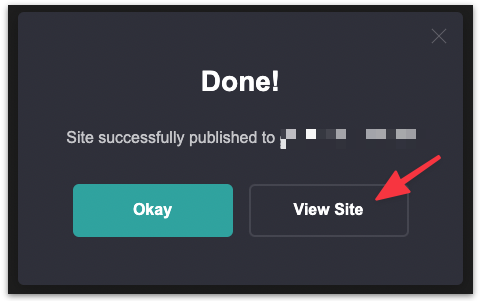
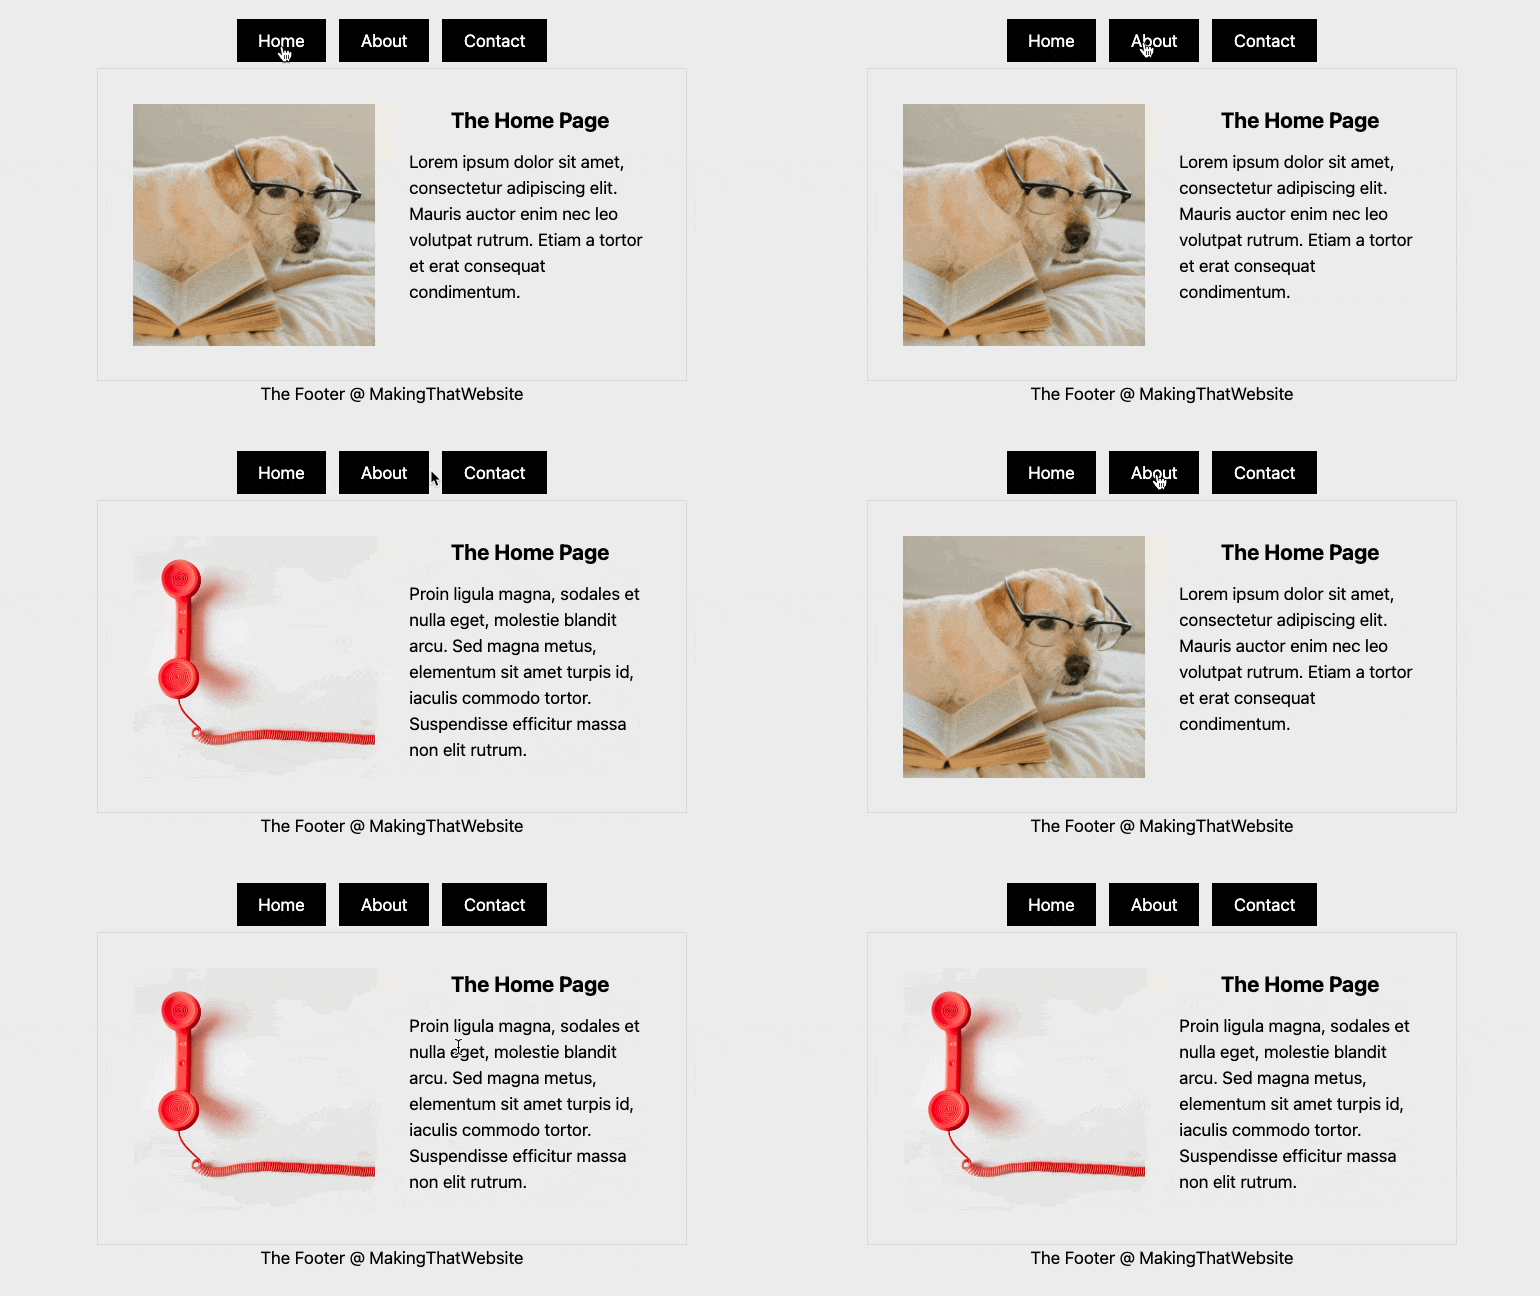
You have now created a multi-page website on Carrd!
Other Carrd websites that have multiple pages are the viral BlackLivesMatters Carrd site and DidFaq.
If you need other Carrd website inspiration/examples, here are more Carrd website examples that I personally collect to inspire you.